

Create Your Account
- New user
- Existing user flow
1
Sign up for Revolte
Select Sign Up, then continue with Google, GitHub, or email.
2
Complete email authentication
If you sign up with email, choose either Email + Password or Passwordless Email (OTP).
3
Start your first Interactive chat
After signing up for the first time, Revolte opens the Interactive chat screen. Enter a prompt to start building immediately, or select Connect under Connect your existing application to work with an existing repository.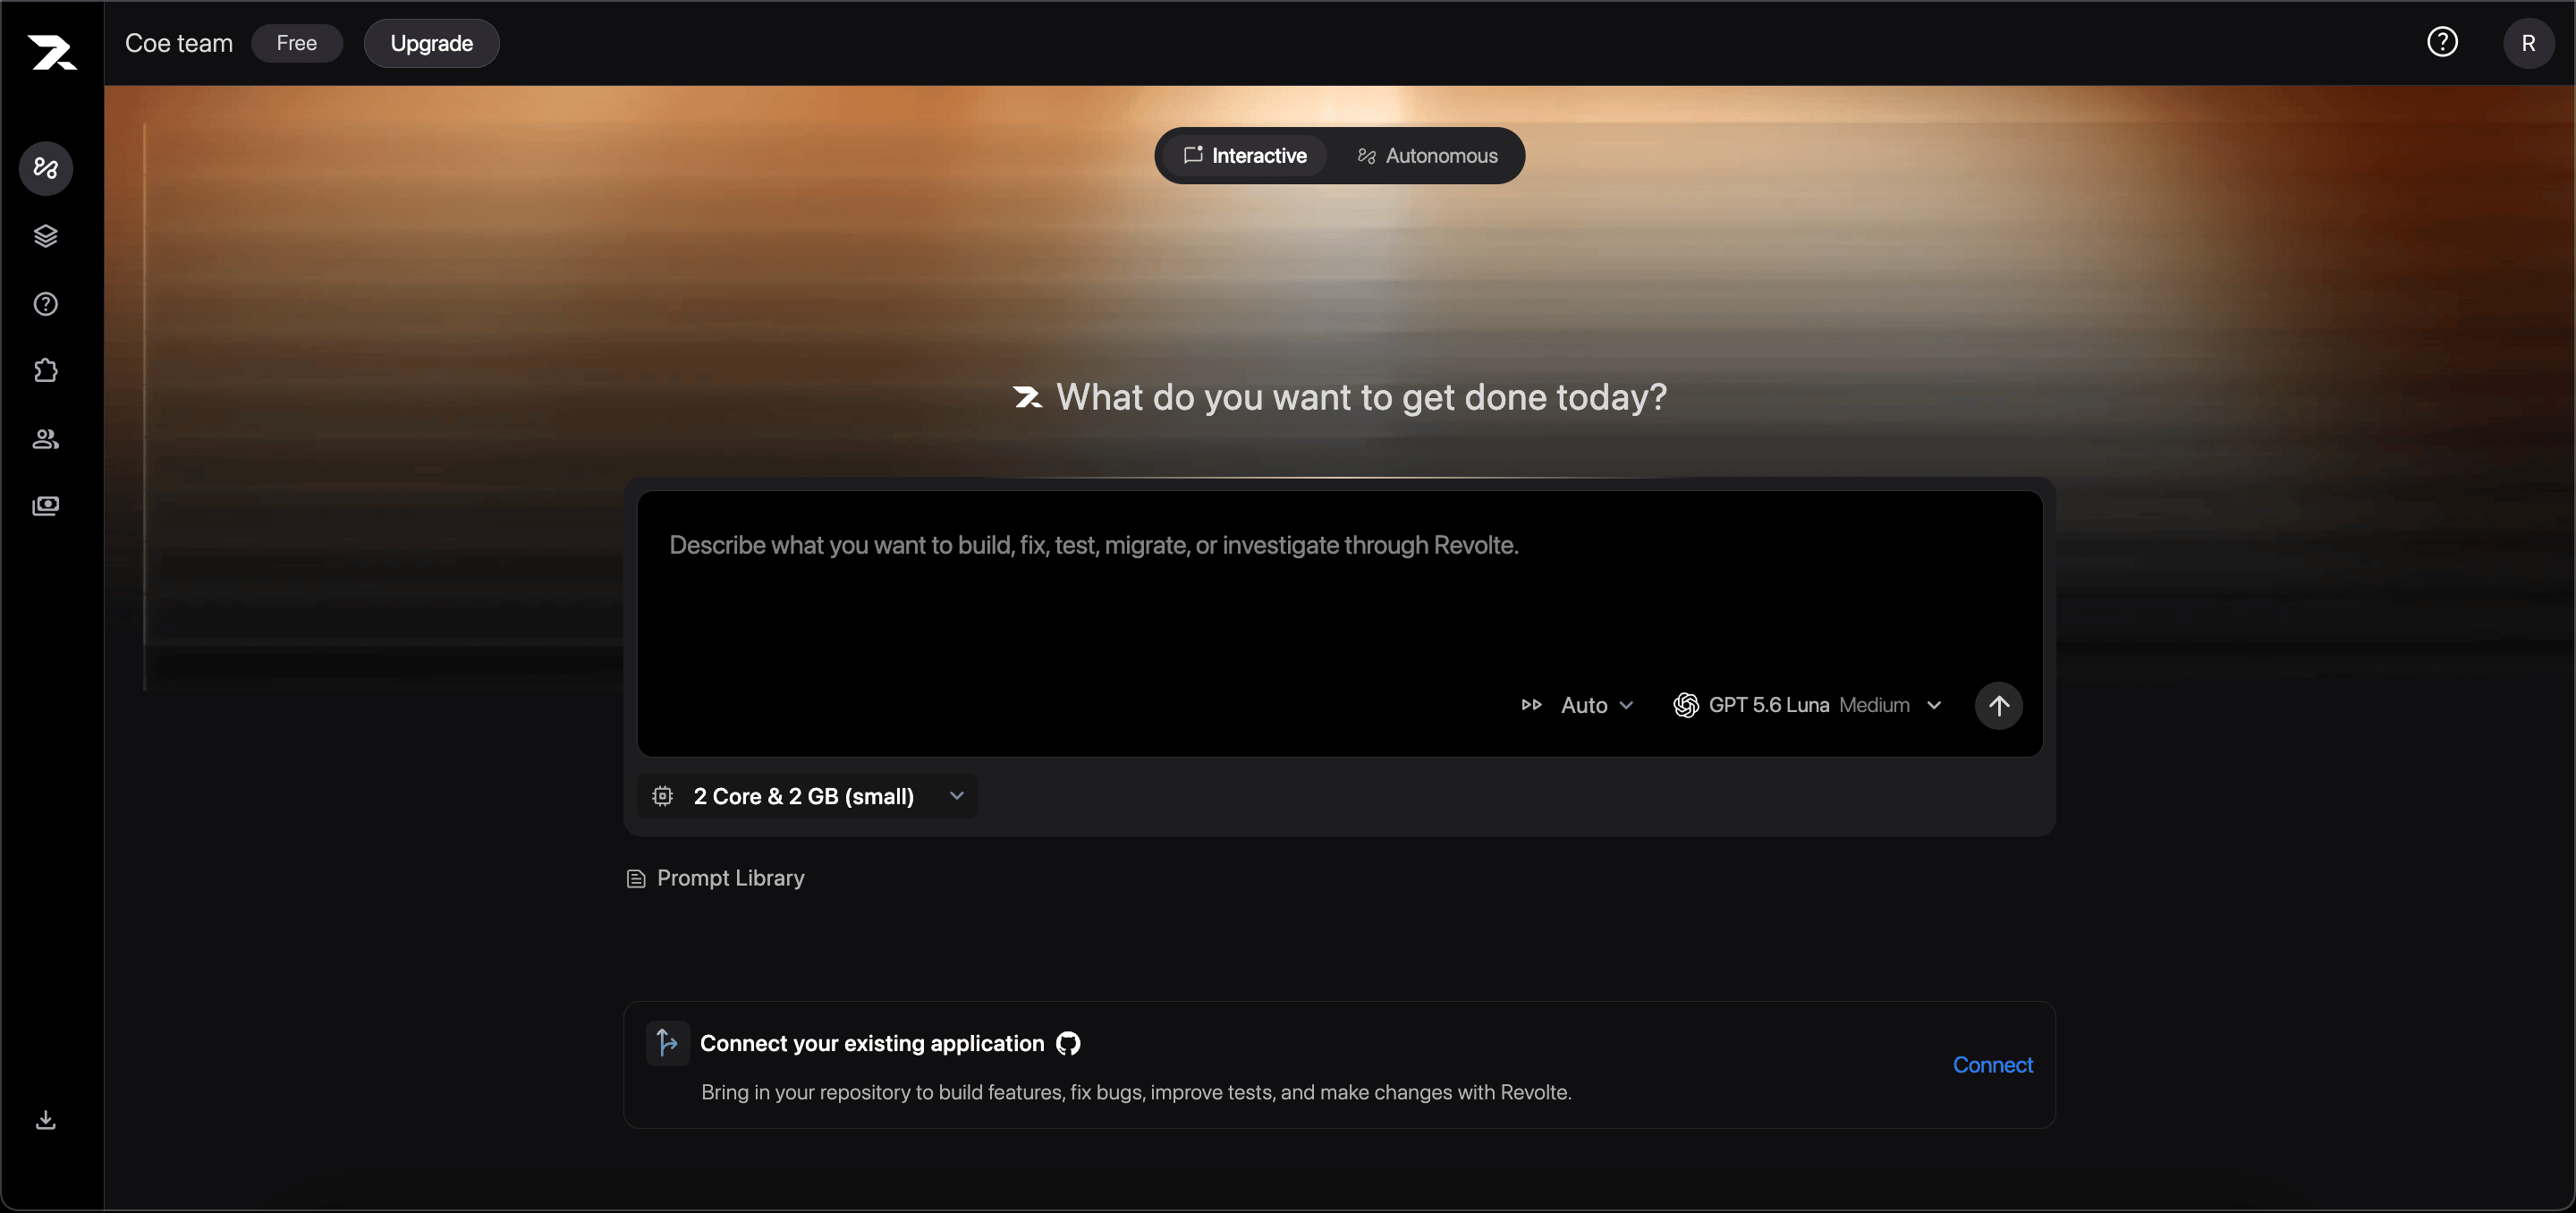
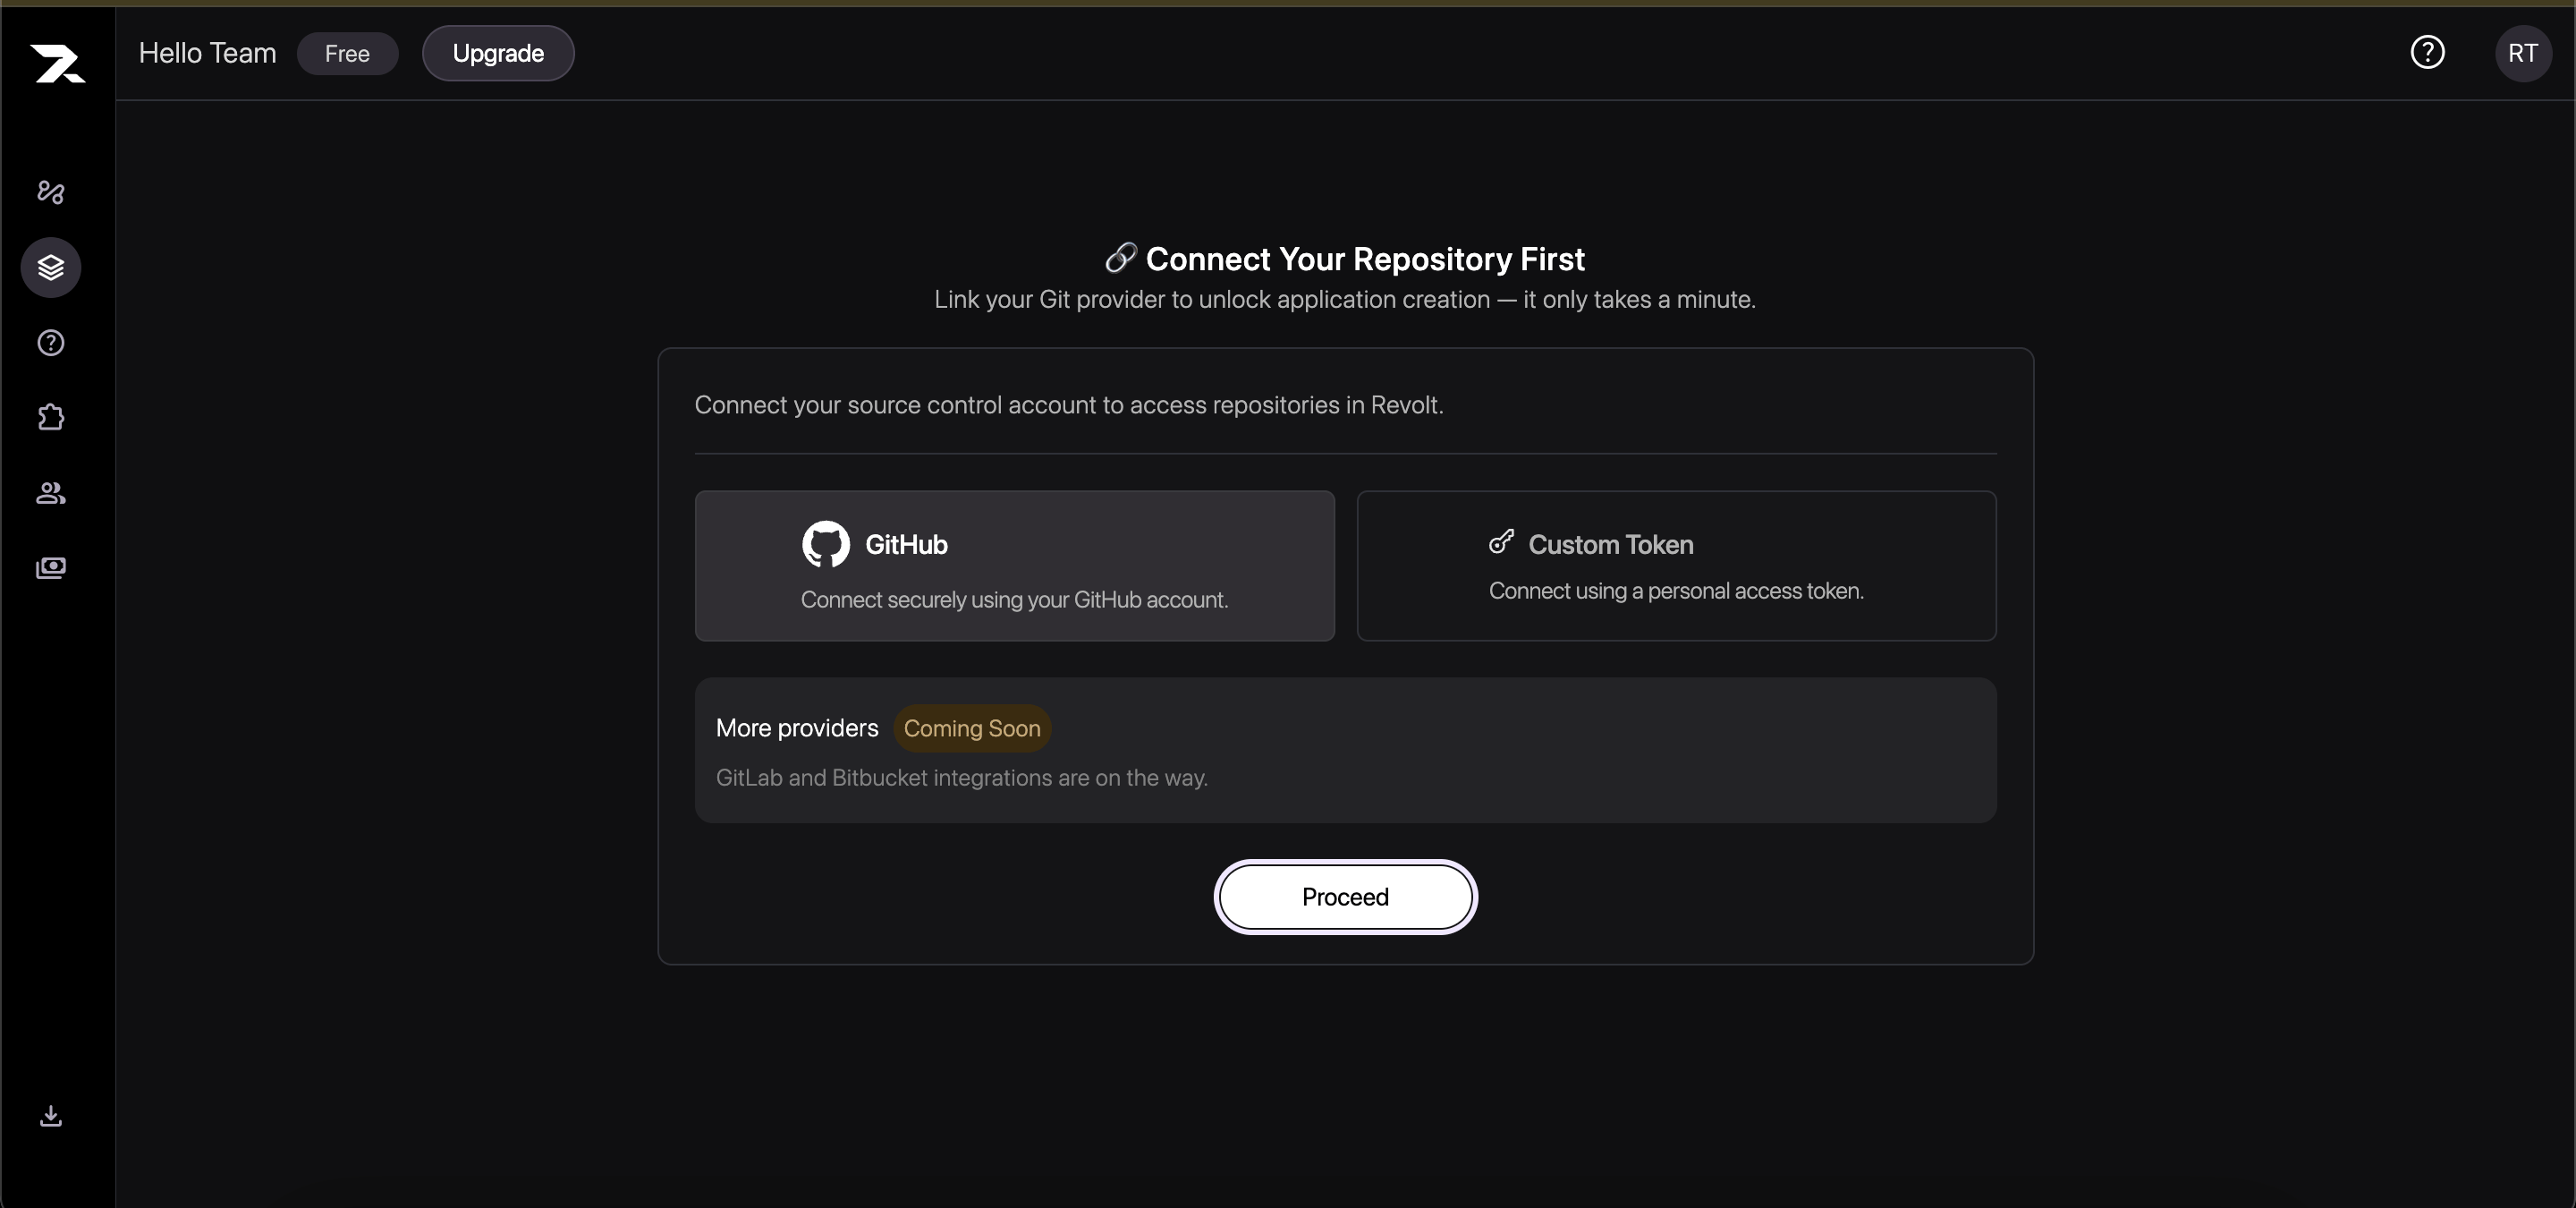
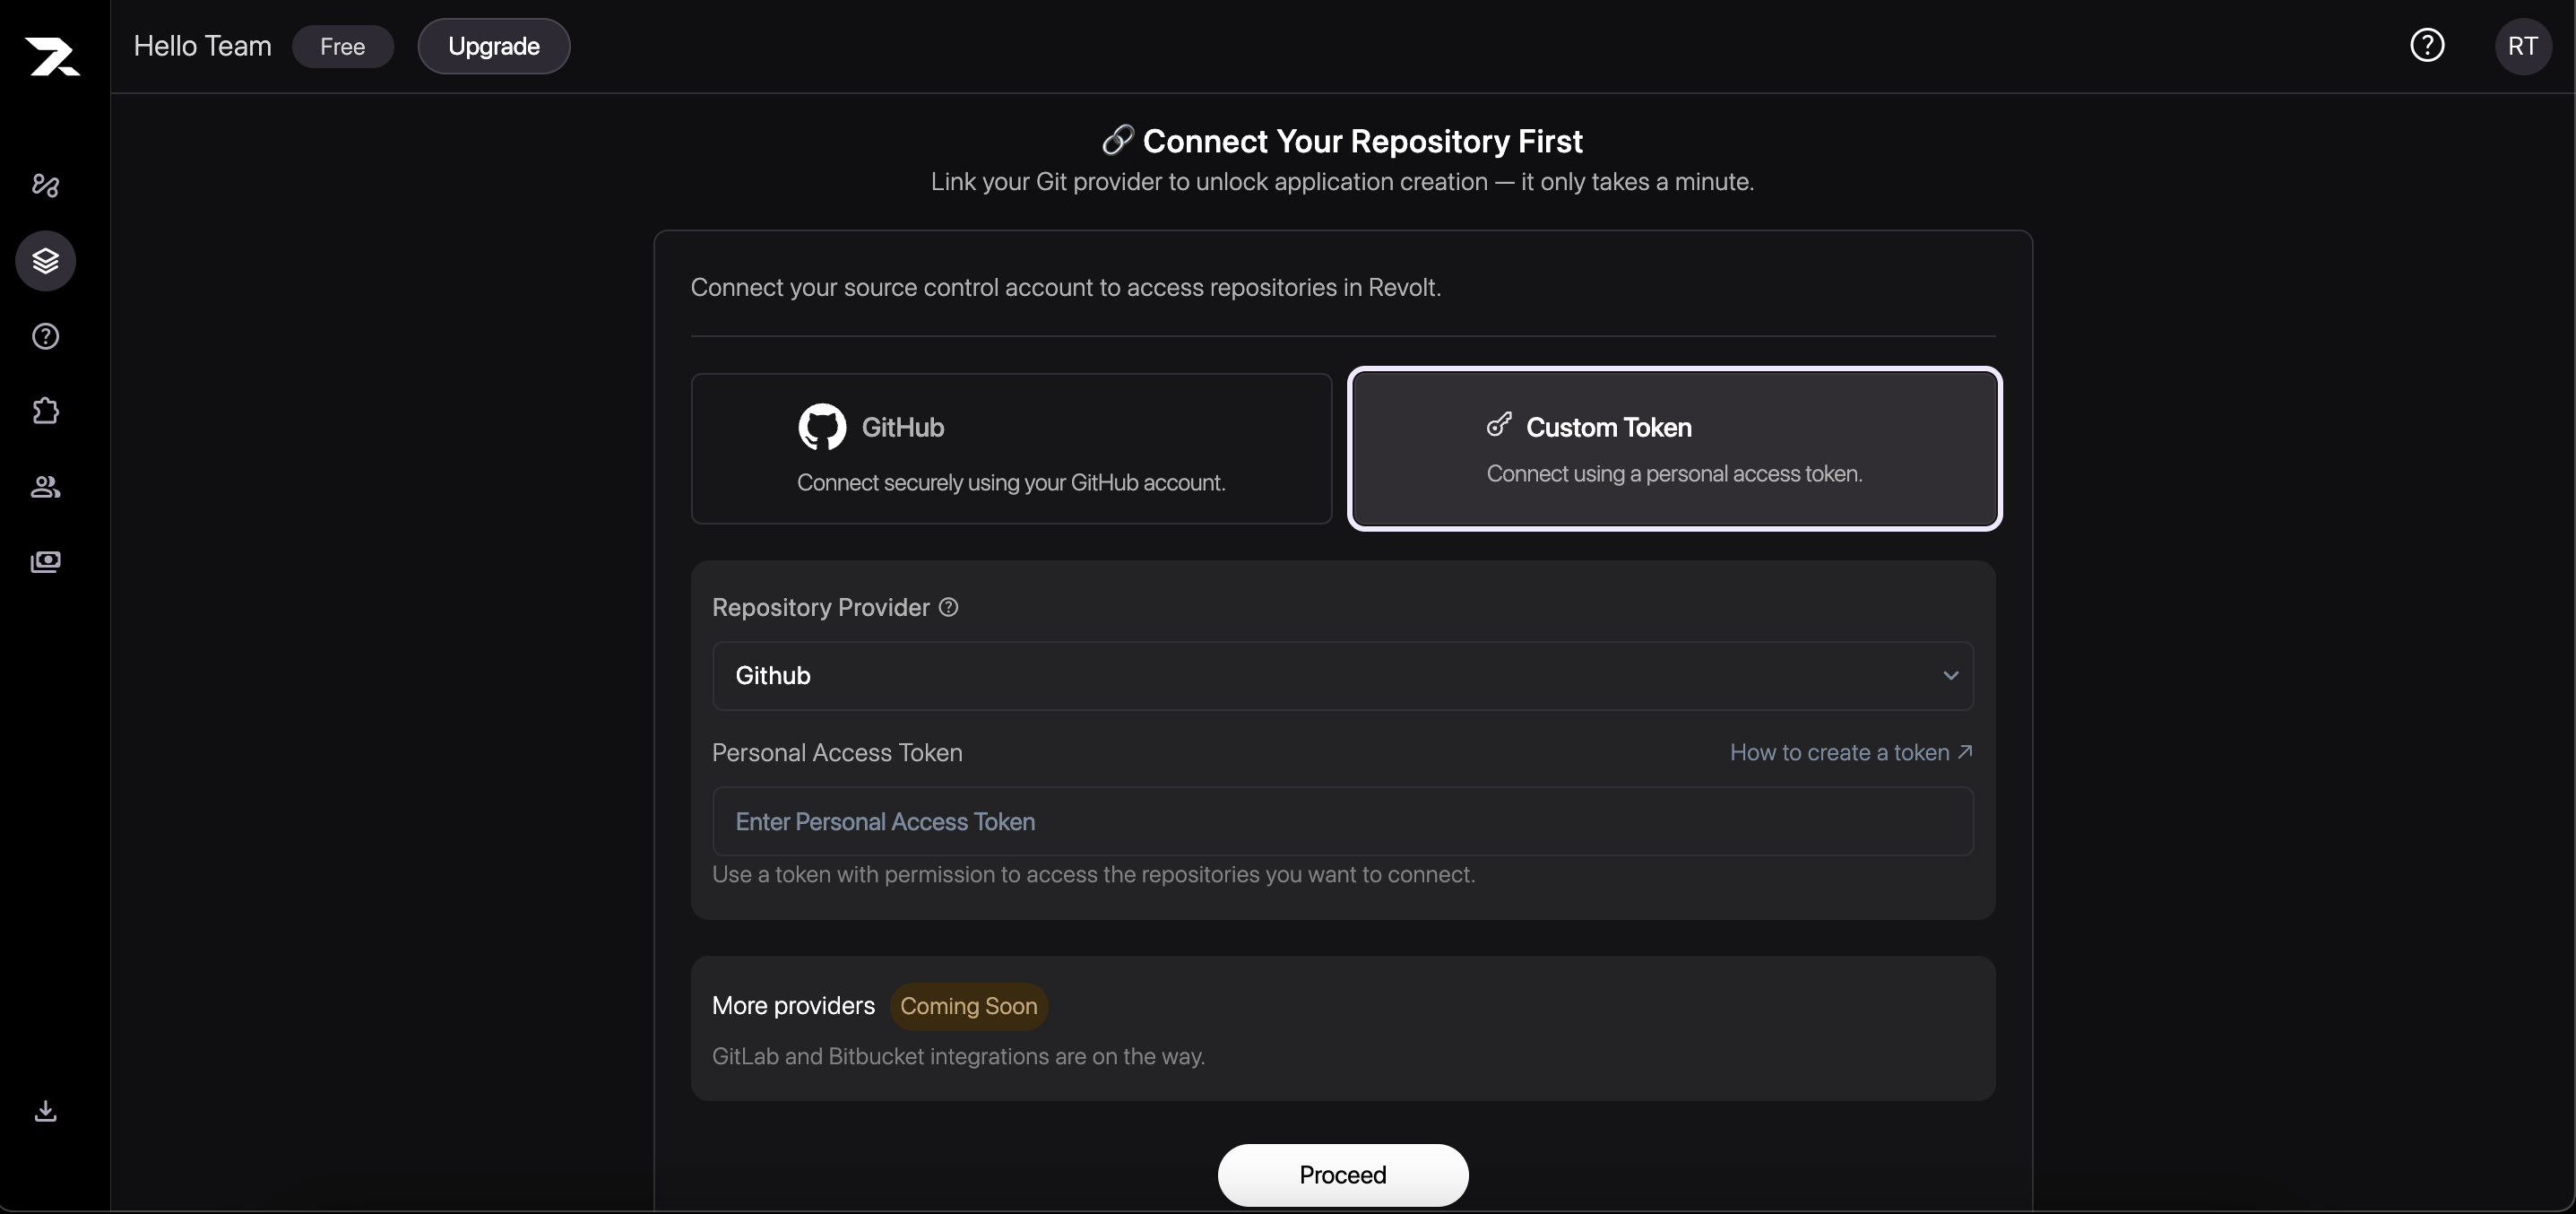
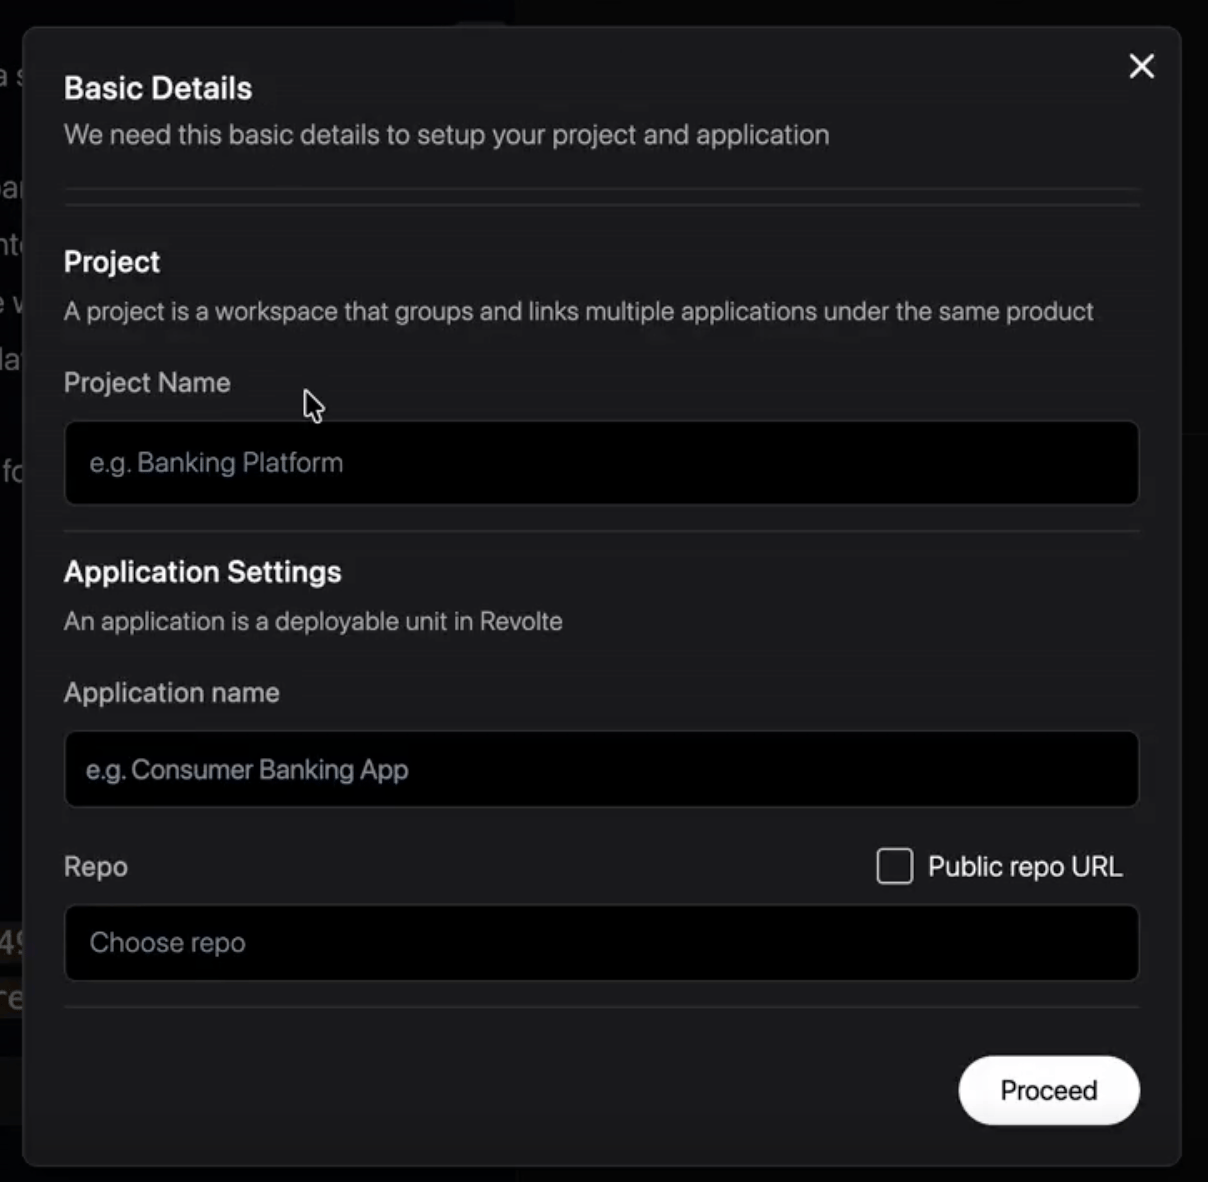
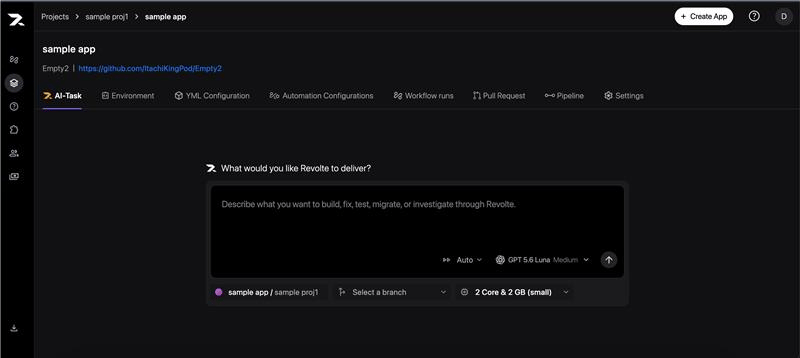
Choose How You Want to Work
The next step depends on how you plan to use Revolte.Interactive Sessions (No Setup Required)
Designed for developers who want to start building immediately. Create a new session and begin engineering with AI. Connecting GitHub is optional when you start. If you don’t have a repository connected, Revolte provisions a secure session repository so you can work immediately. When you’re ready to commit your changes, you’ll be prompted to connect GitHub. Getting started:- Create a new Interactive session.
- Start building with a prompt or connect an existing repository.
- Work in your secure session repository.
- Connect GitHub when you’re ready to commit your changes.
Learn more about Secure Sandboxes.
Autopilot Workspace Setup
Autopilot is designed for engineering teams that want AI to execute work across their delivery lifecycle. The first time you enable Autopilot, Revolte walks you through a guided workspace setup. Setup steps:- Connect your Jira project.
- Connect your Git provider and repositories.
- Import your project context.
- Generate and commit a
revolte.ymlconfiguration.
Why does Revolte create a revolte.yml?
The revolte.yml file becomes the blueprint for how Revolte understands and operates on your project.
It stores your project’s delivery configuration, engineering preferences, repository settings, environments, and execution rules so future Autopilot tasks can run consistently without requiring repeated setup.
This is typically a one-time setup and evolves alongside your project as your workflows change.