

Before you start: Have permission to install the Revolte app in Jira and a repository you can connect to a Revolte application. If the repository is not connected yet, the setup flow will guide you through it.
1
Open Autopilot and Connect Jira
In Revolte, open Chat and select Autopilot. Install the Revolte app from the Atlassian Marketplace, approve the requested permissions, and choose the Atlassian site your team uses.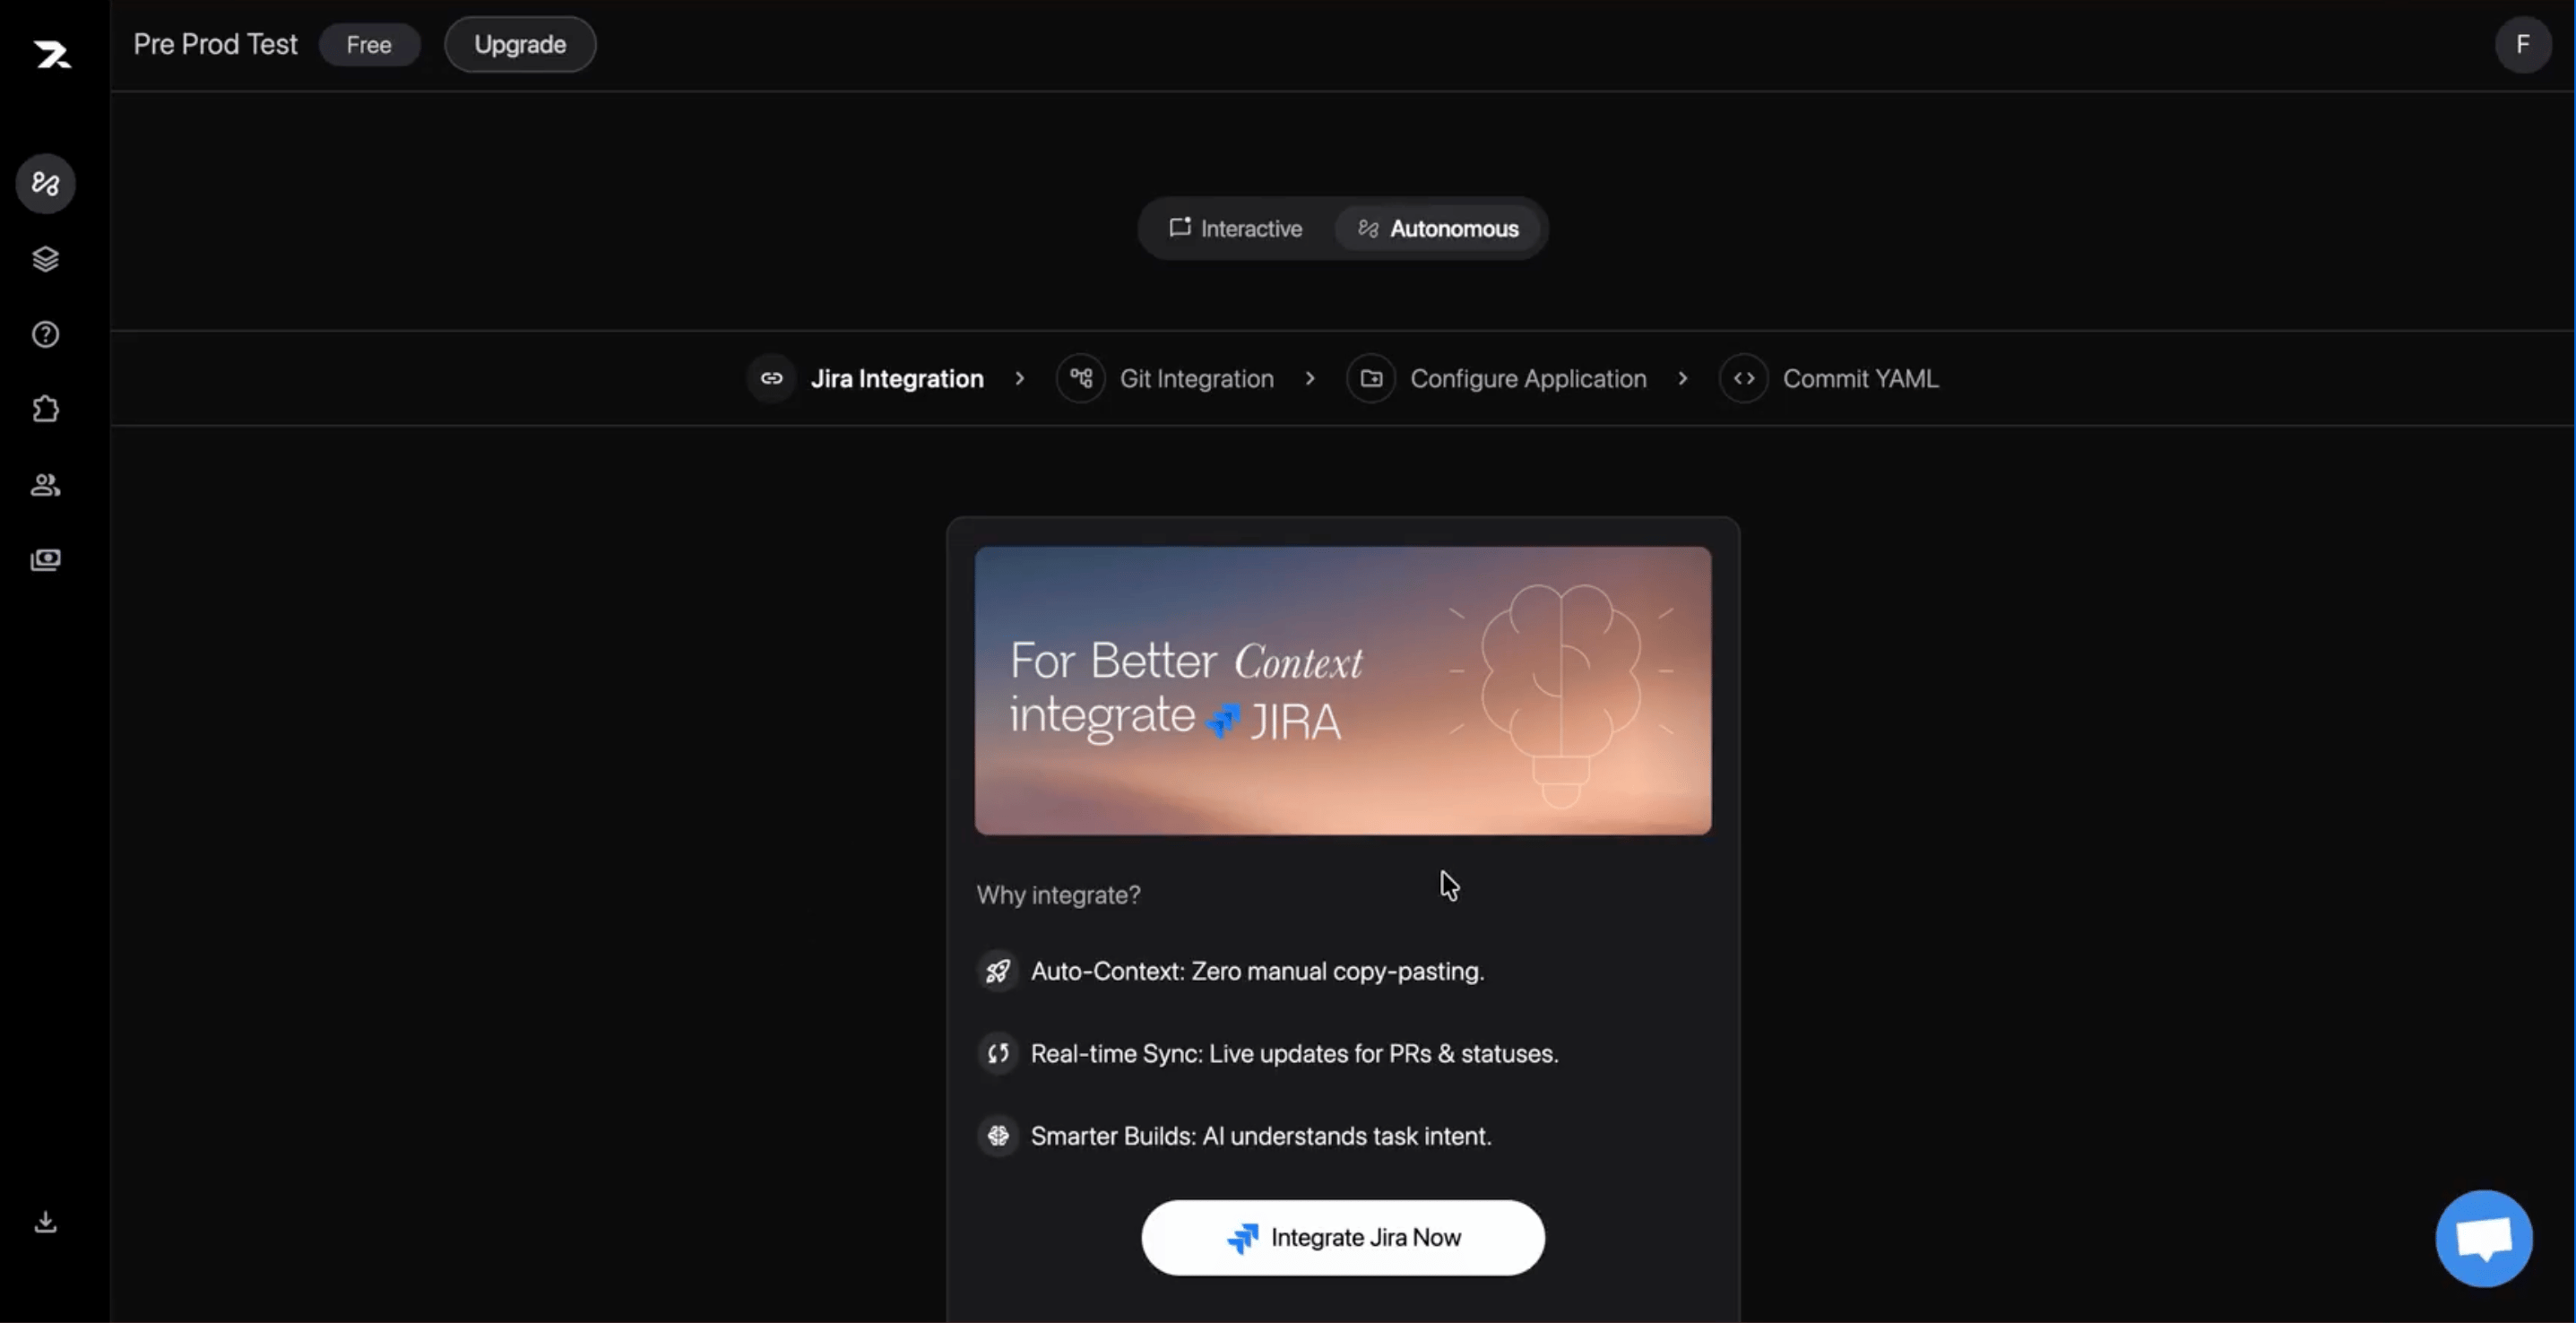
2
Finish the Application Setup
Complete the remaining setup checks: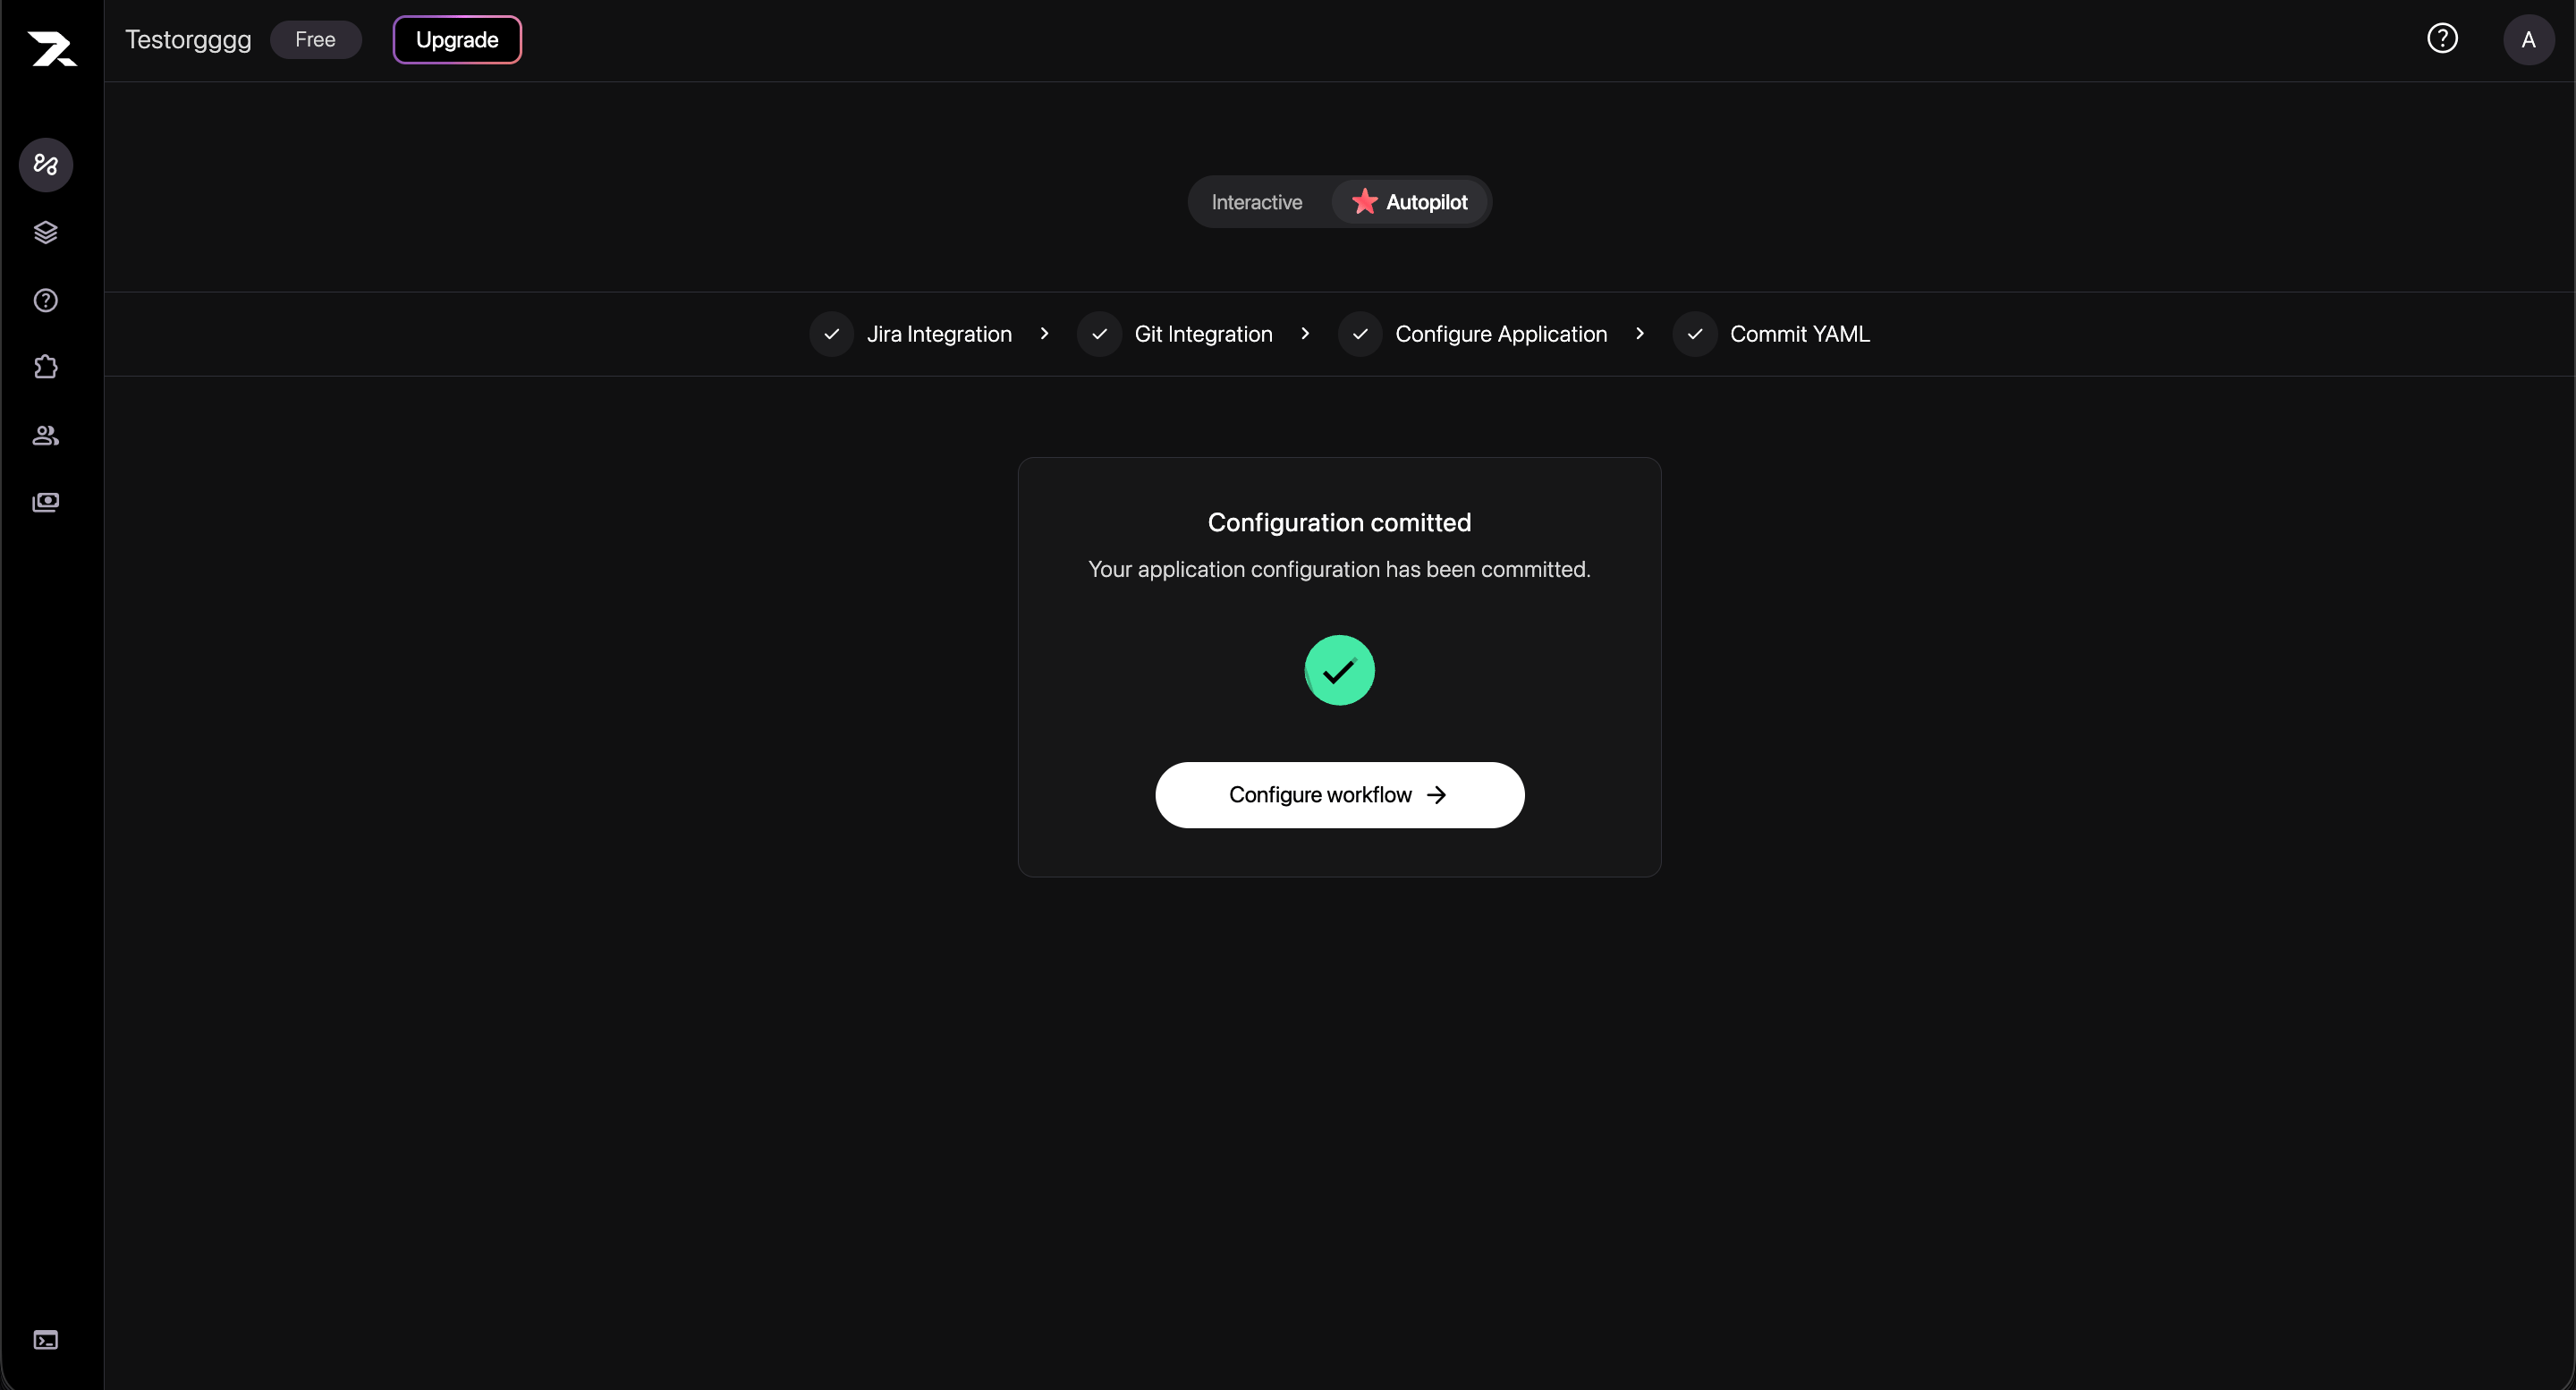
- Git Integration connects the repository Revolte will work in.
- Configure Application records the application’s service details.
- Commit YAML saves the
revolte.ymlconfiguration.
3
Choose Which Jira Tickets Revolte Should Handle
Open Automation Configurations and select Configure Automation. Then choose: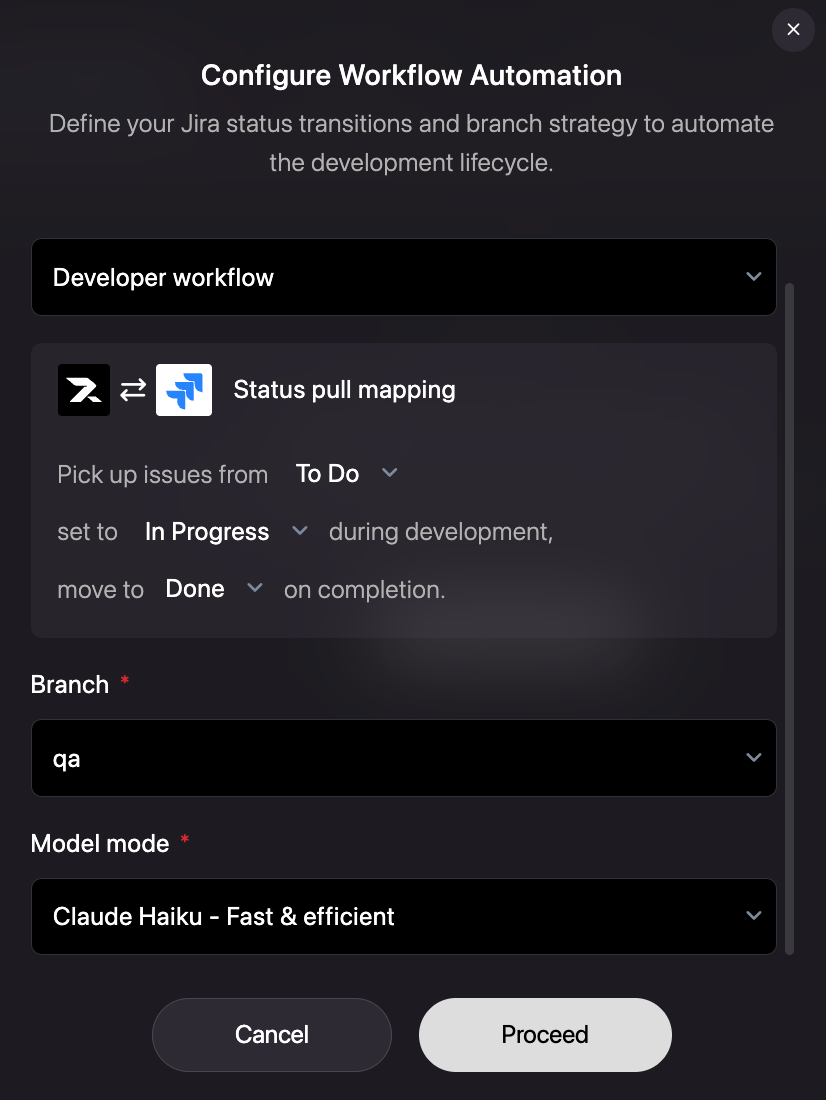
- Workflow: Select
Developer workflow. - Status mapping: Choose the Jira status that starts work, such as To Do, and the statuses used while work is in progress and complete.
- Target branch: Choose where Revolte should propose its changes, such as
qaormain. - Model: Select a model that fits the task—for instance,
Claude Haiku - Fast & efficient.
4
Start the Workflow from a Jira Ticket
Open the ticket in Jira and find Revolte in the right sidebar. Under Select Application, choose the application Revolte should update.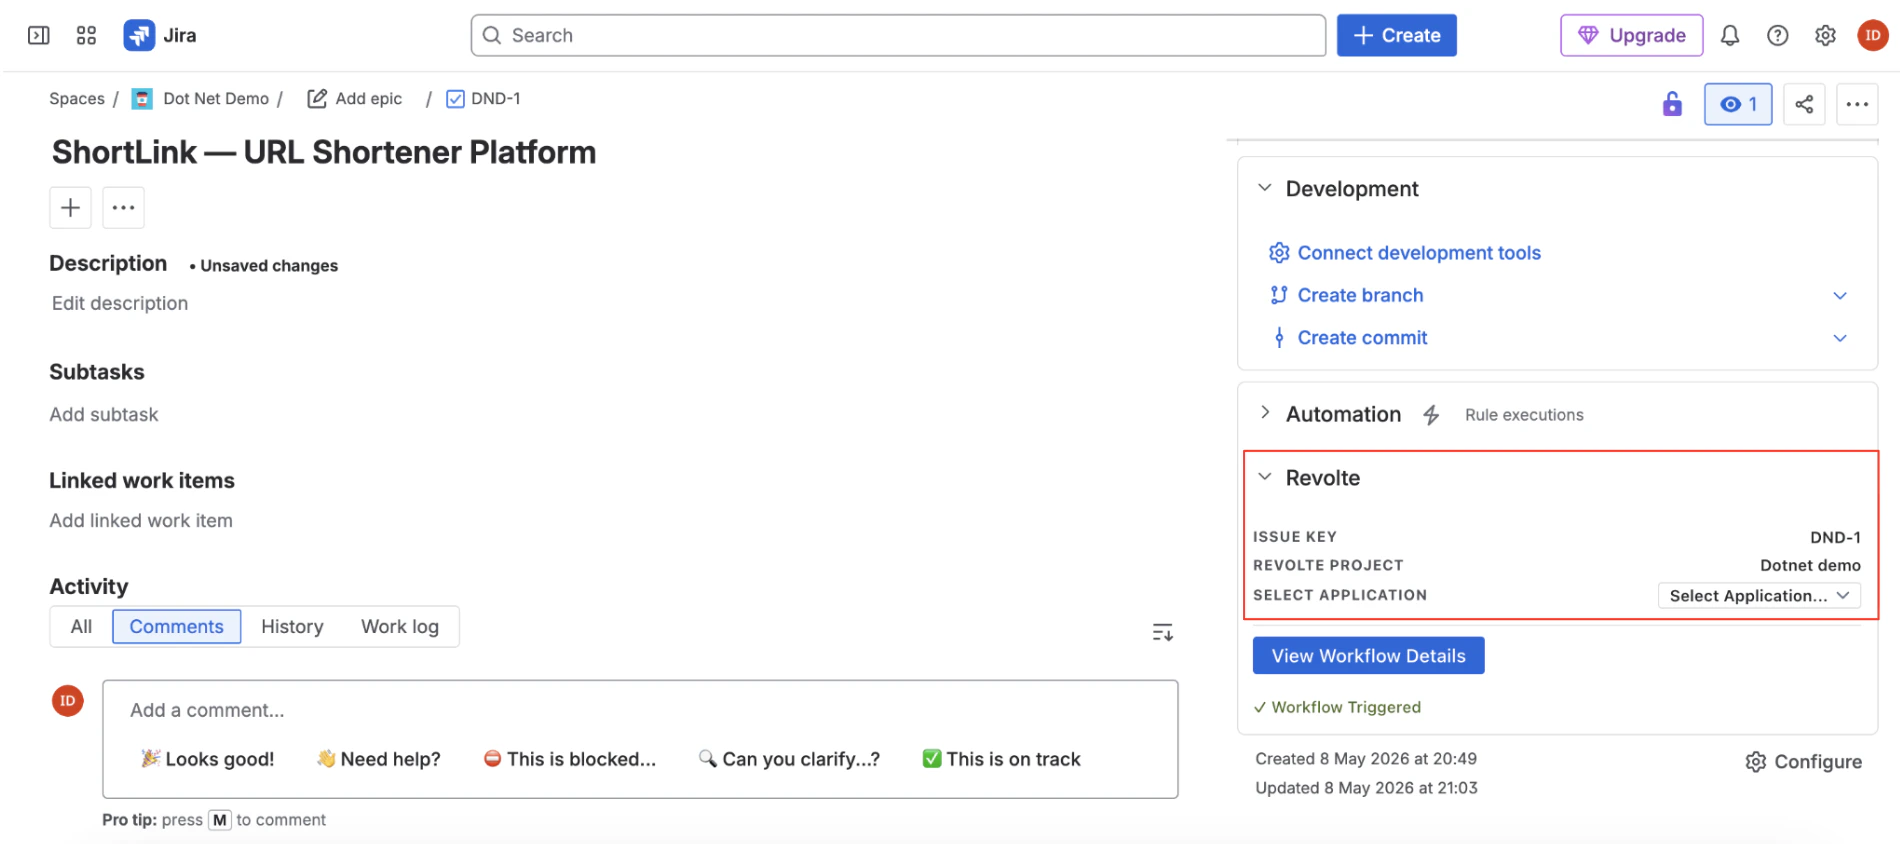
5
Follow the Agent Run
In Revolte, open Agent runs to follow the workflow status. When the run completes, open it to review stages such as Sandbox Provisioning, Code Setup, and Token Usage.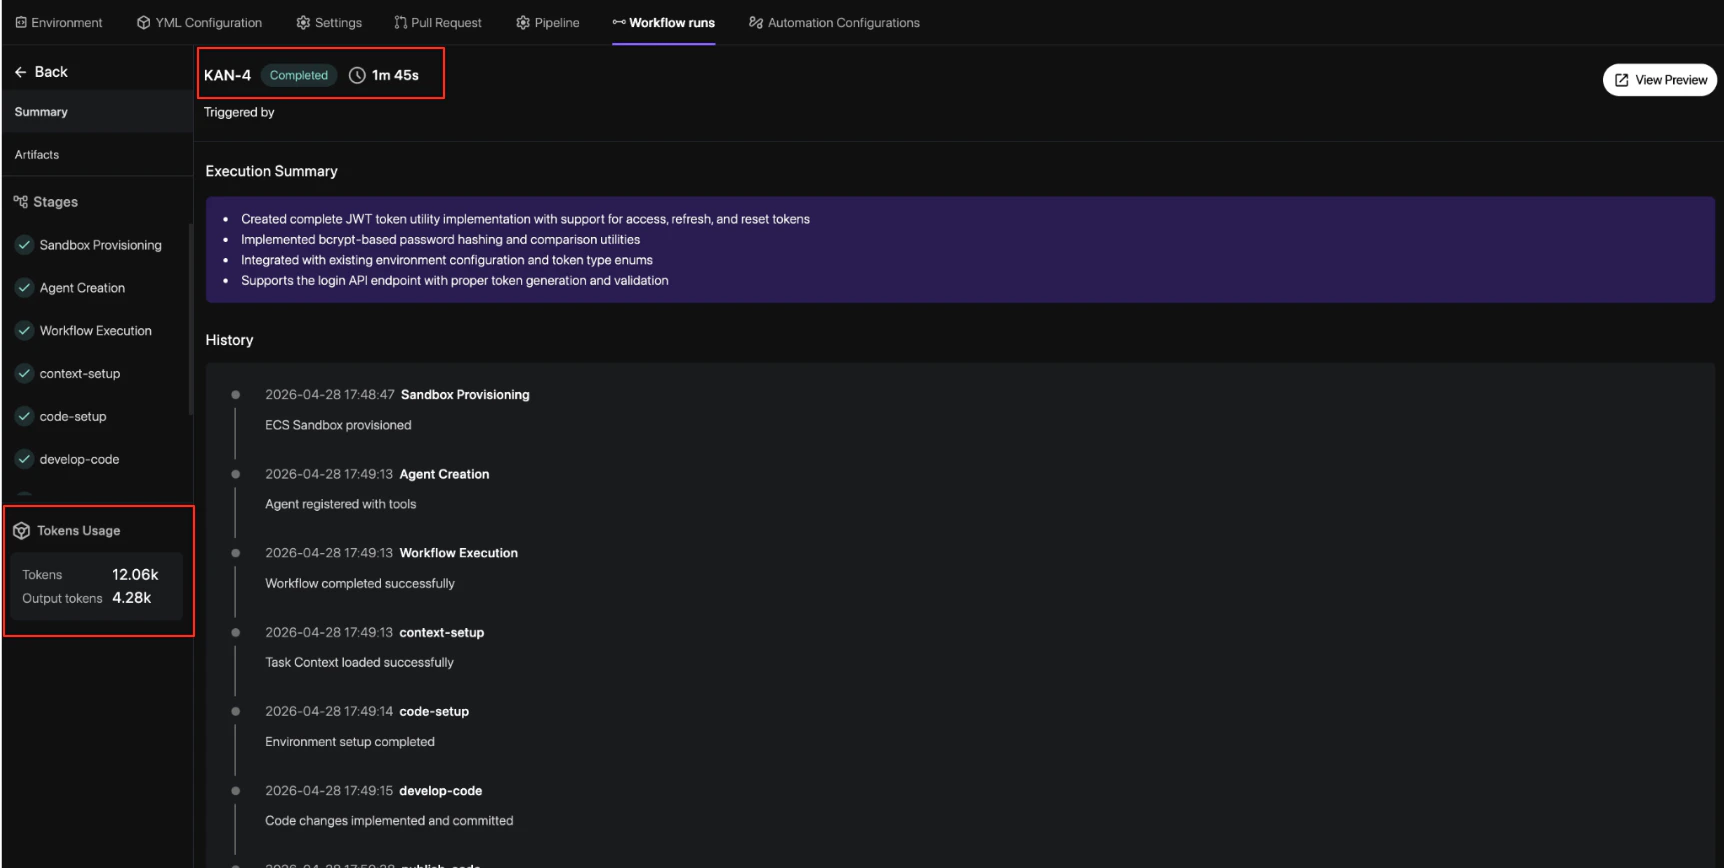
6
Review the Plan and Code Changes
Open Artifacts to read the implementation plan, subtasks, and proposed file changes. Then open Diff Summary to compare every line the agent created or modified.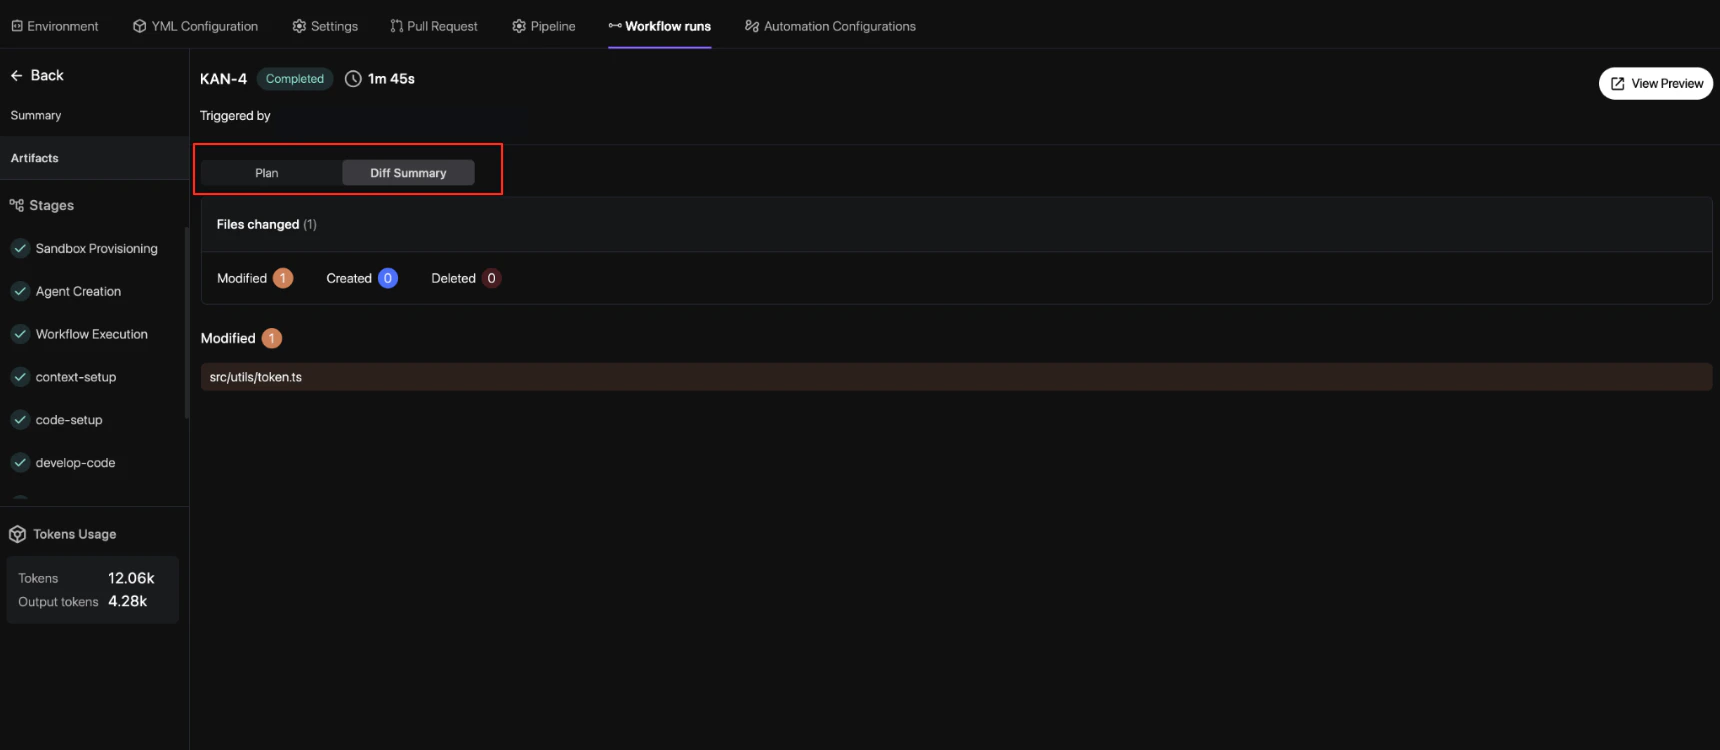
7
Review the Pull Request and Preview
When the agent finishes, Revolte opens a pull request in GitHub or your configured Git provider. Review the proposed changes with your team, then merge when they are ready.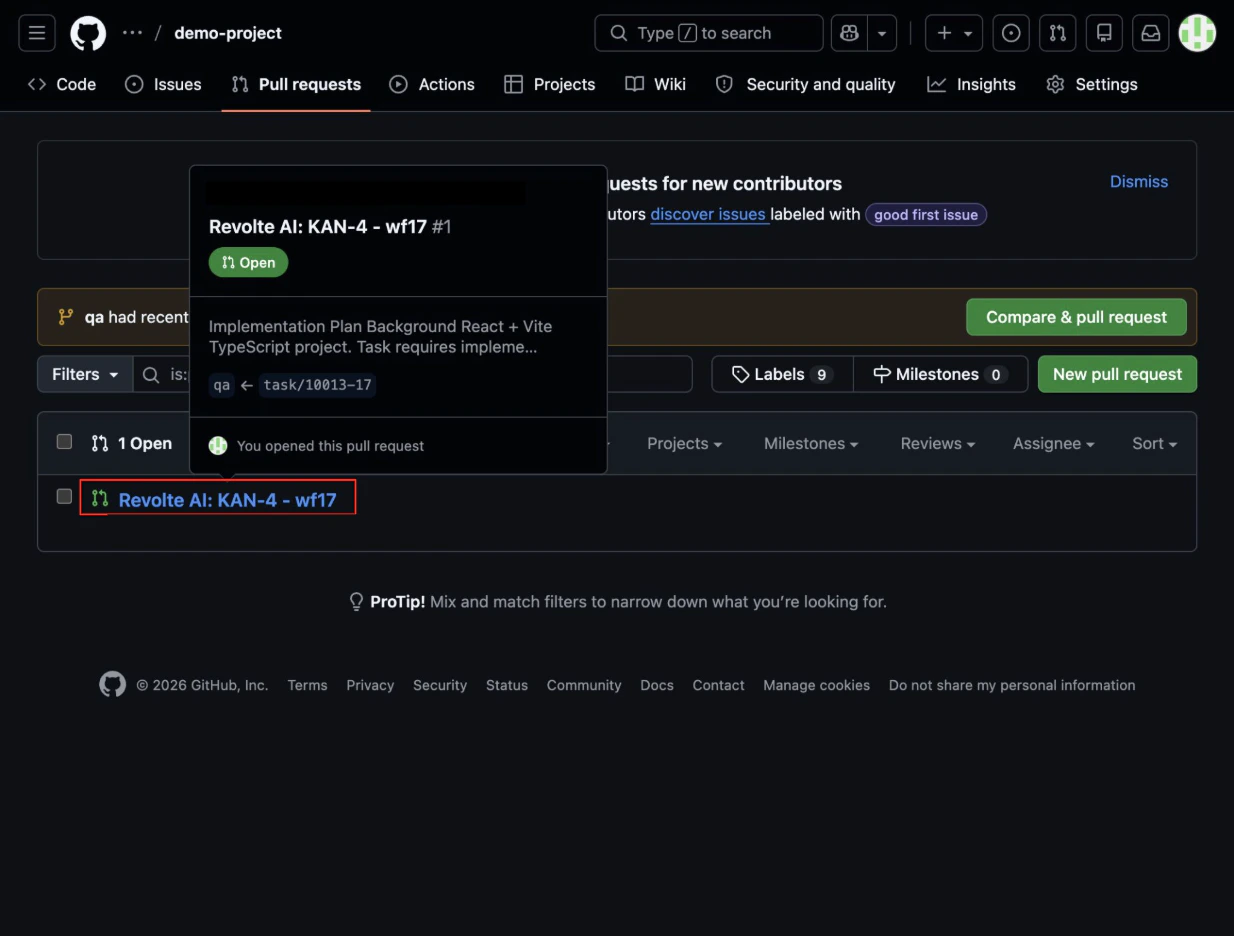
revolte.yml configuration.✓ Your first autonomous workflow is complete. The Jira ticket has moved through implementation, code review, and delivery without leaving your team’s existing workflow.