

New to Revolte? Start with a new application and connect a repository later. If you already have a codebase, connect it first so Revolte can follow its existing structure and patterns.
1
Open Your First Chat
Immediately after your first sign-up, Revolte opens this Interactive chat screen. You are ready when the prompt box appears. To work with an existing codebase, select Connect under Connect your existing application; otherwise, start with a prompt and connect a repository later.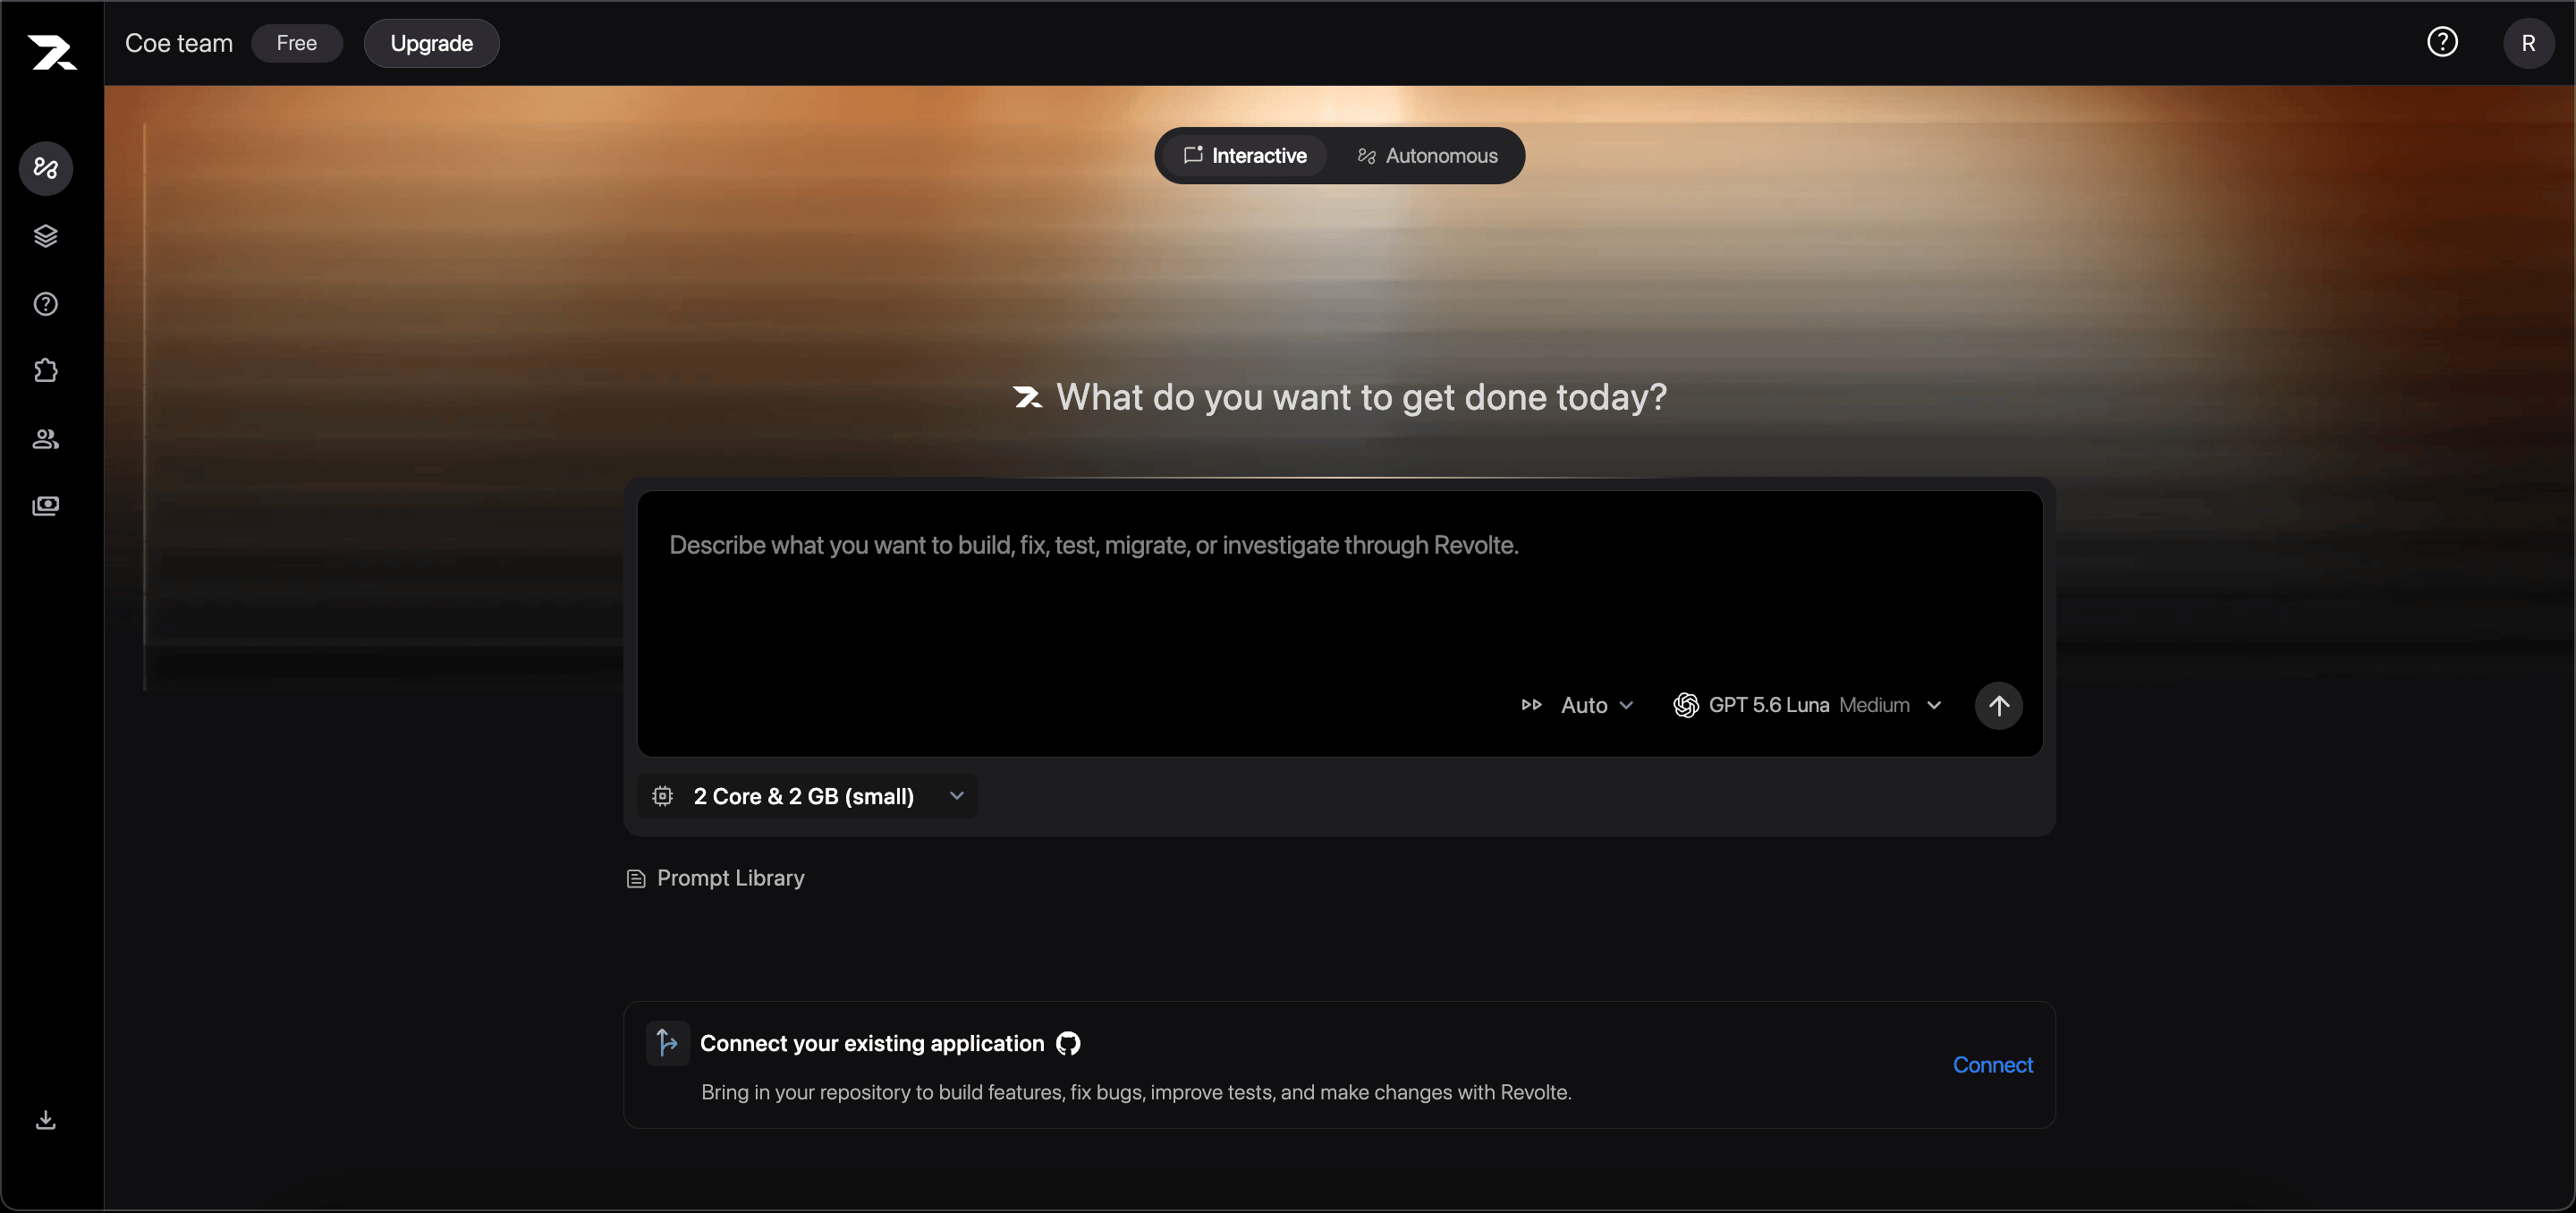
2
Explain What You Want to Build
Write your request as if you were explaining the task to a teammate. A few clear sentences are enough: describe the outcome, mention important constraints, and say what a successful result should include.Not sure how to phrase it? Choose an example from the Prompt Library and adapt it to your goal.
3
Choose Where Revolte Will Work
Select a model, then choose a sandbox size. A smaller sandbox suits focused changes; larger builds, dependency installation, and test suites may need more resources.
4
Send Your Request
Submit the prompt and wait for the sandbox to become active. Revolte may ask a focused question before changing more code. Choose a suggested answer or respond in your own words.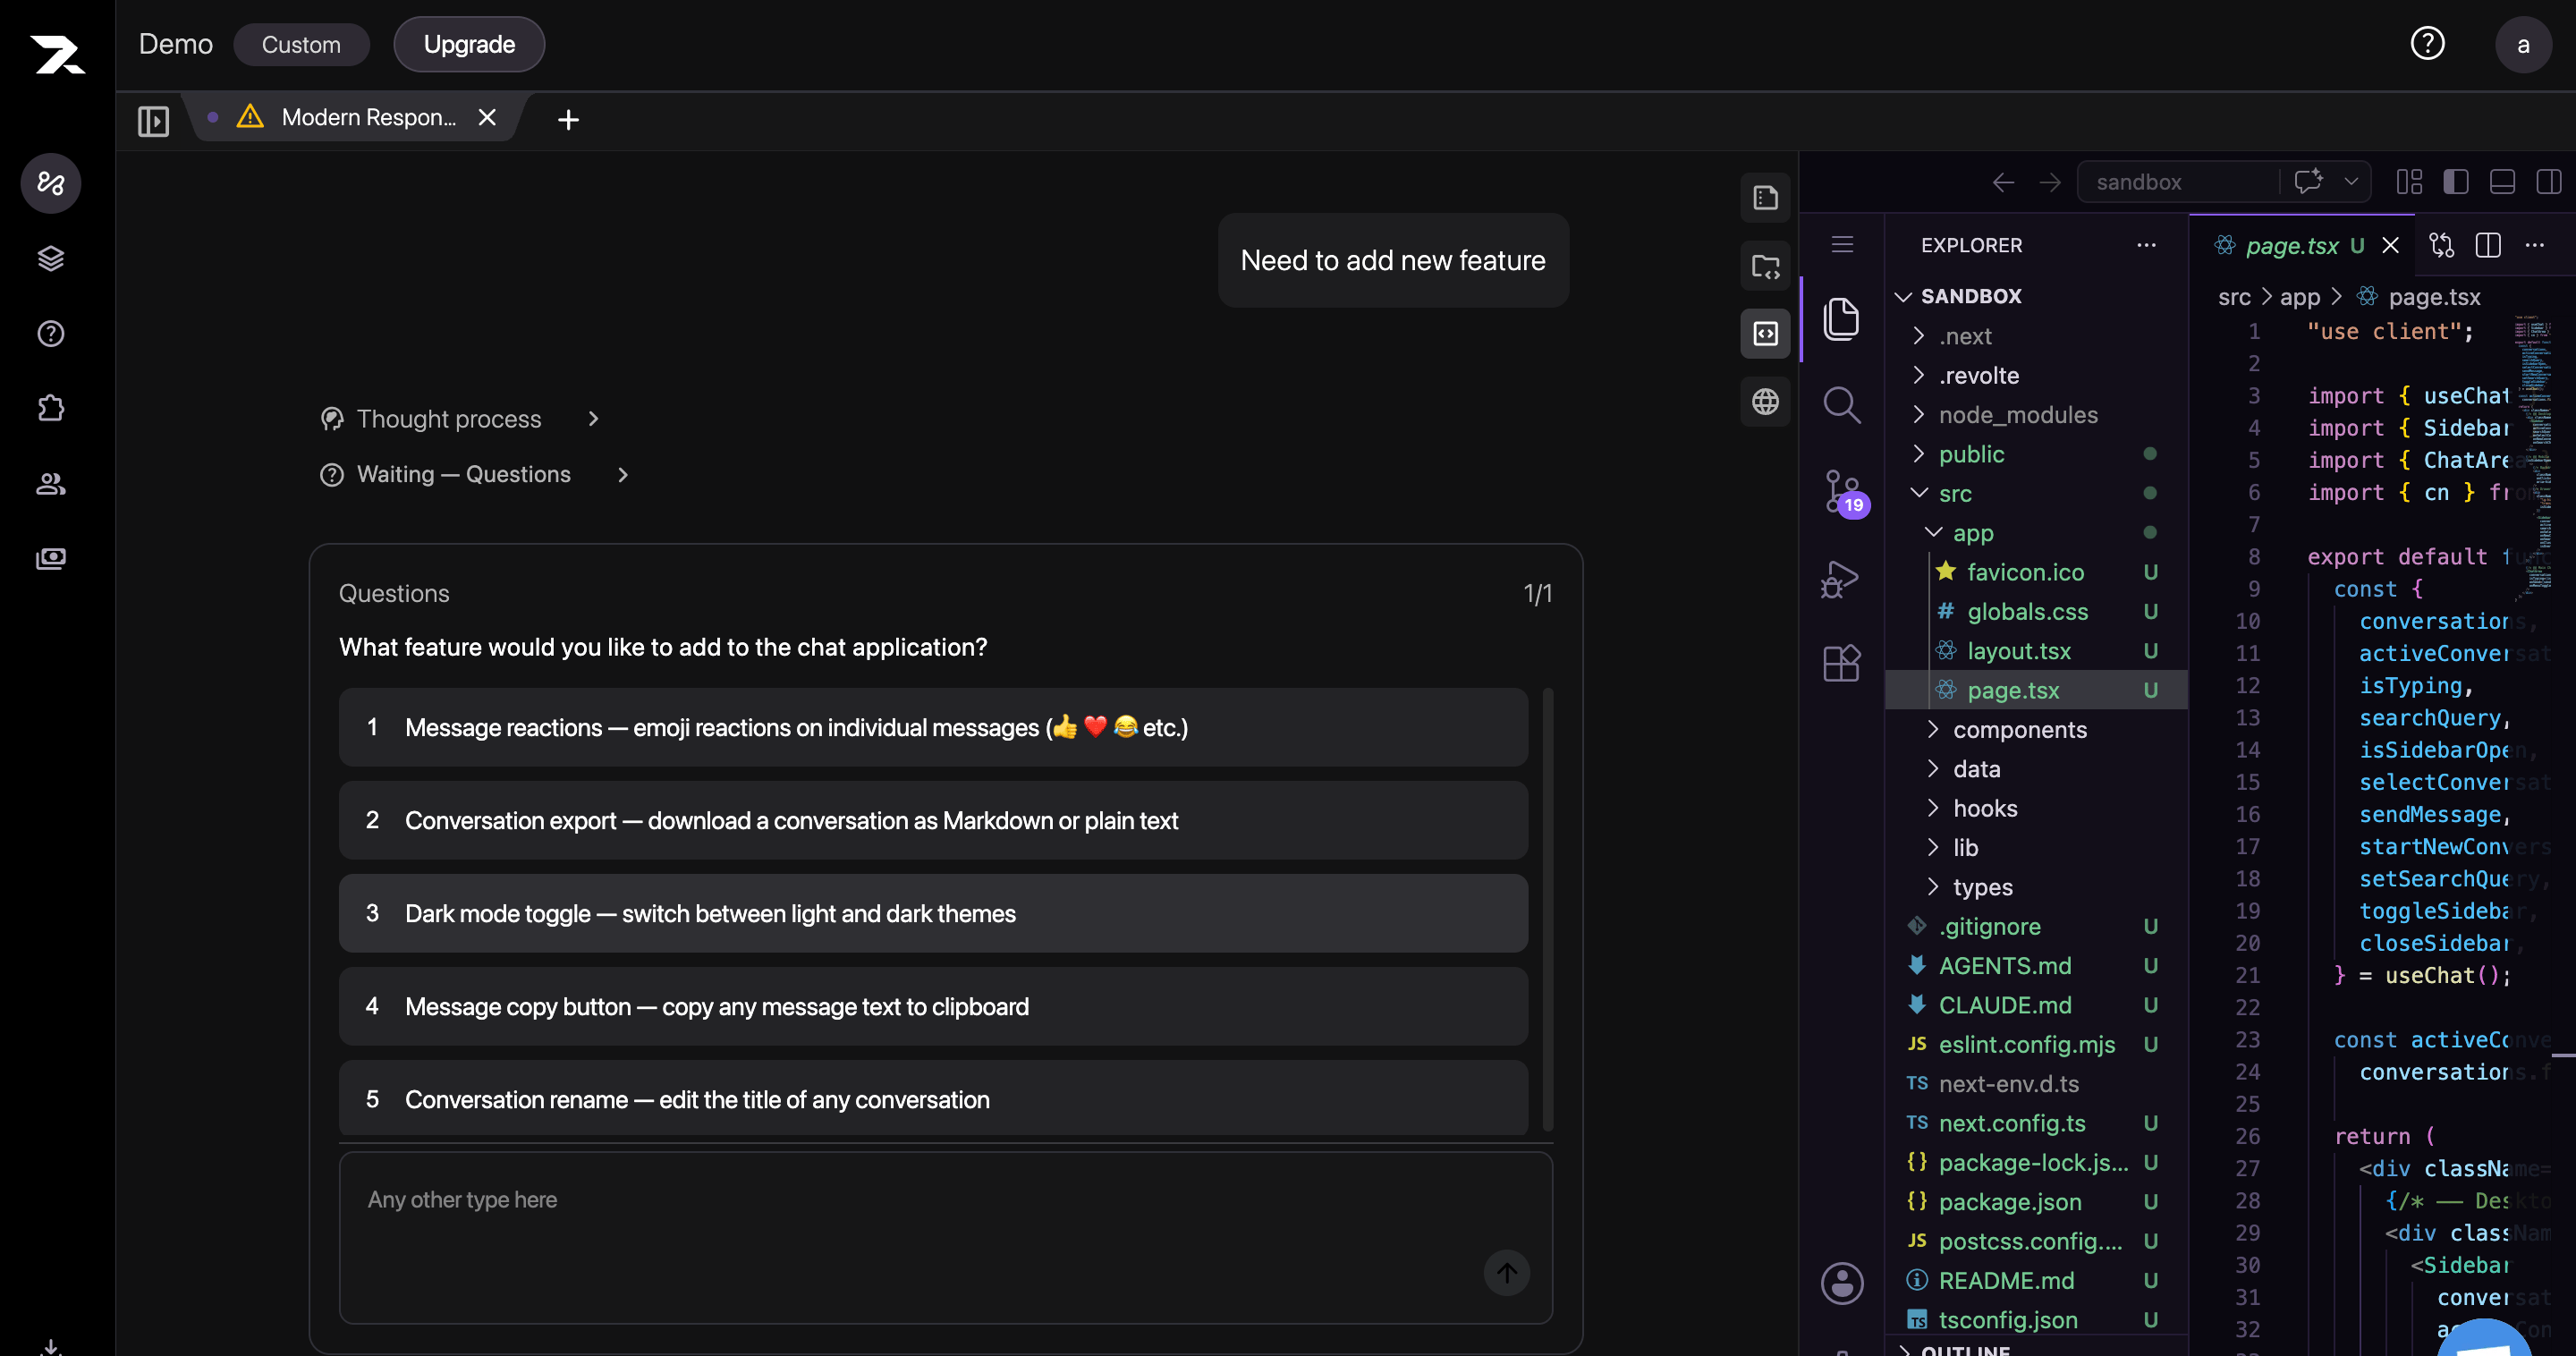
5
Watch the App Take Shape
Follow the progress in chat without needing to understand every command. When you are ready, use these views to check the work in plain sight: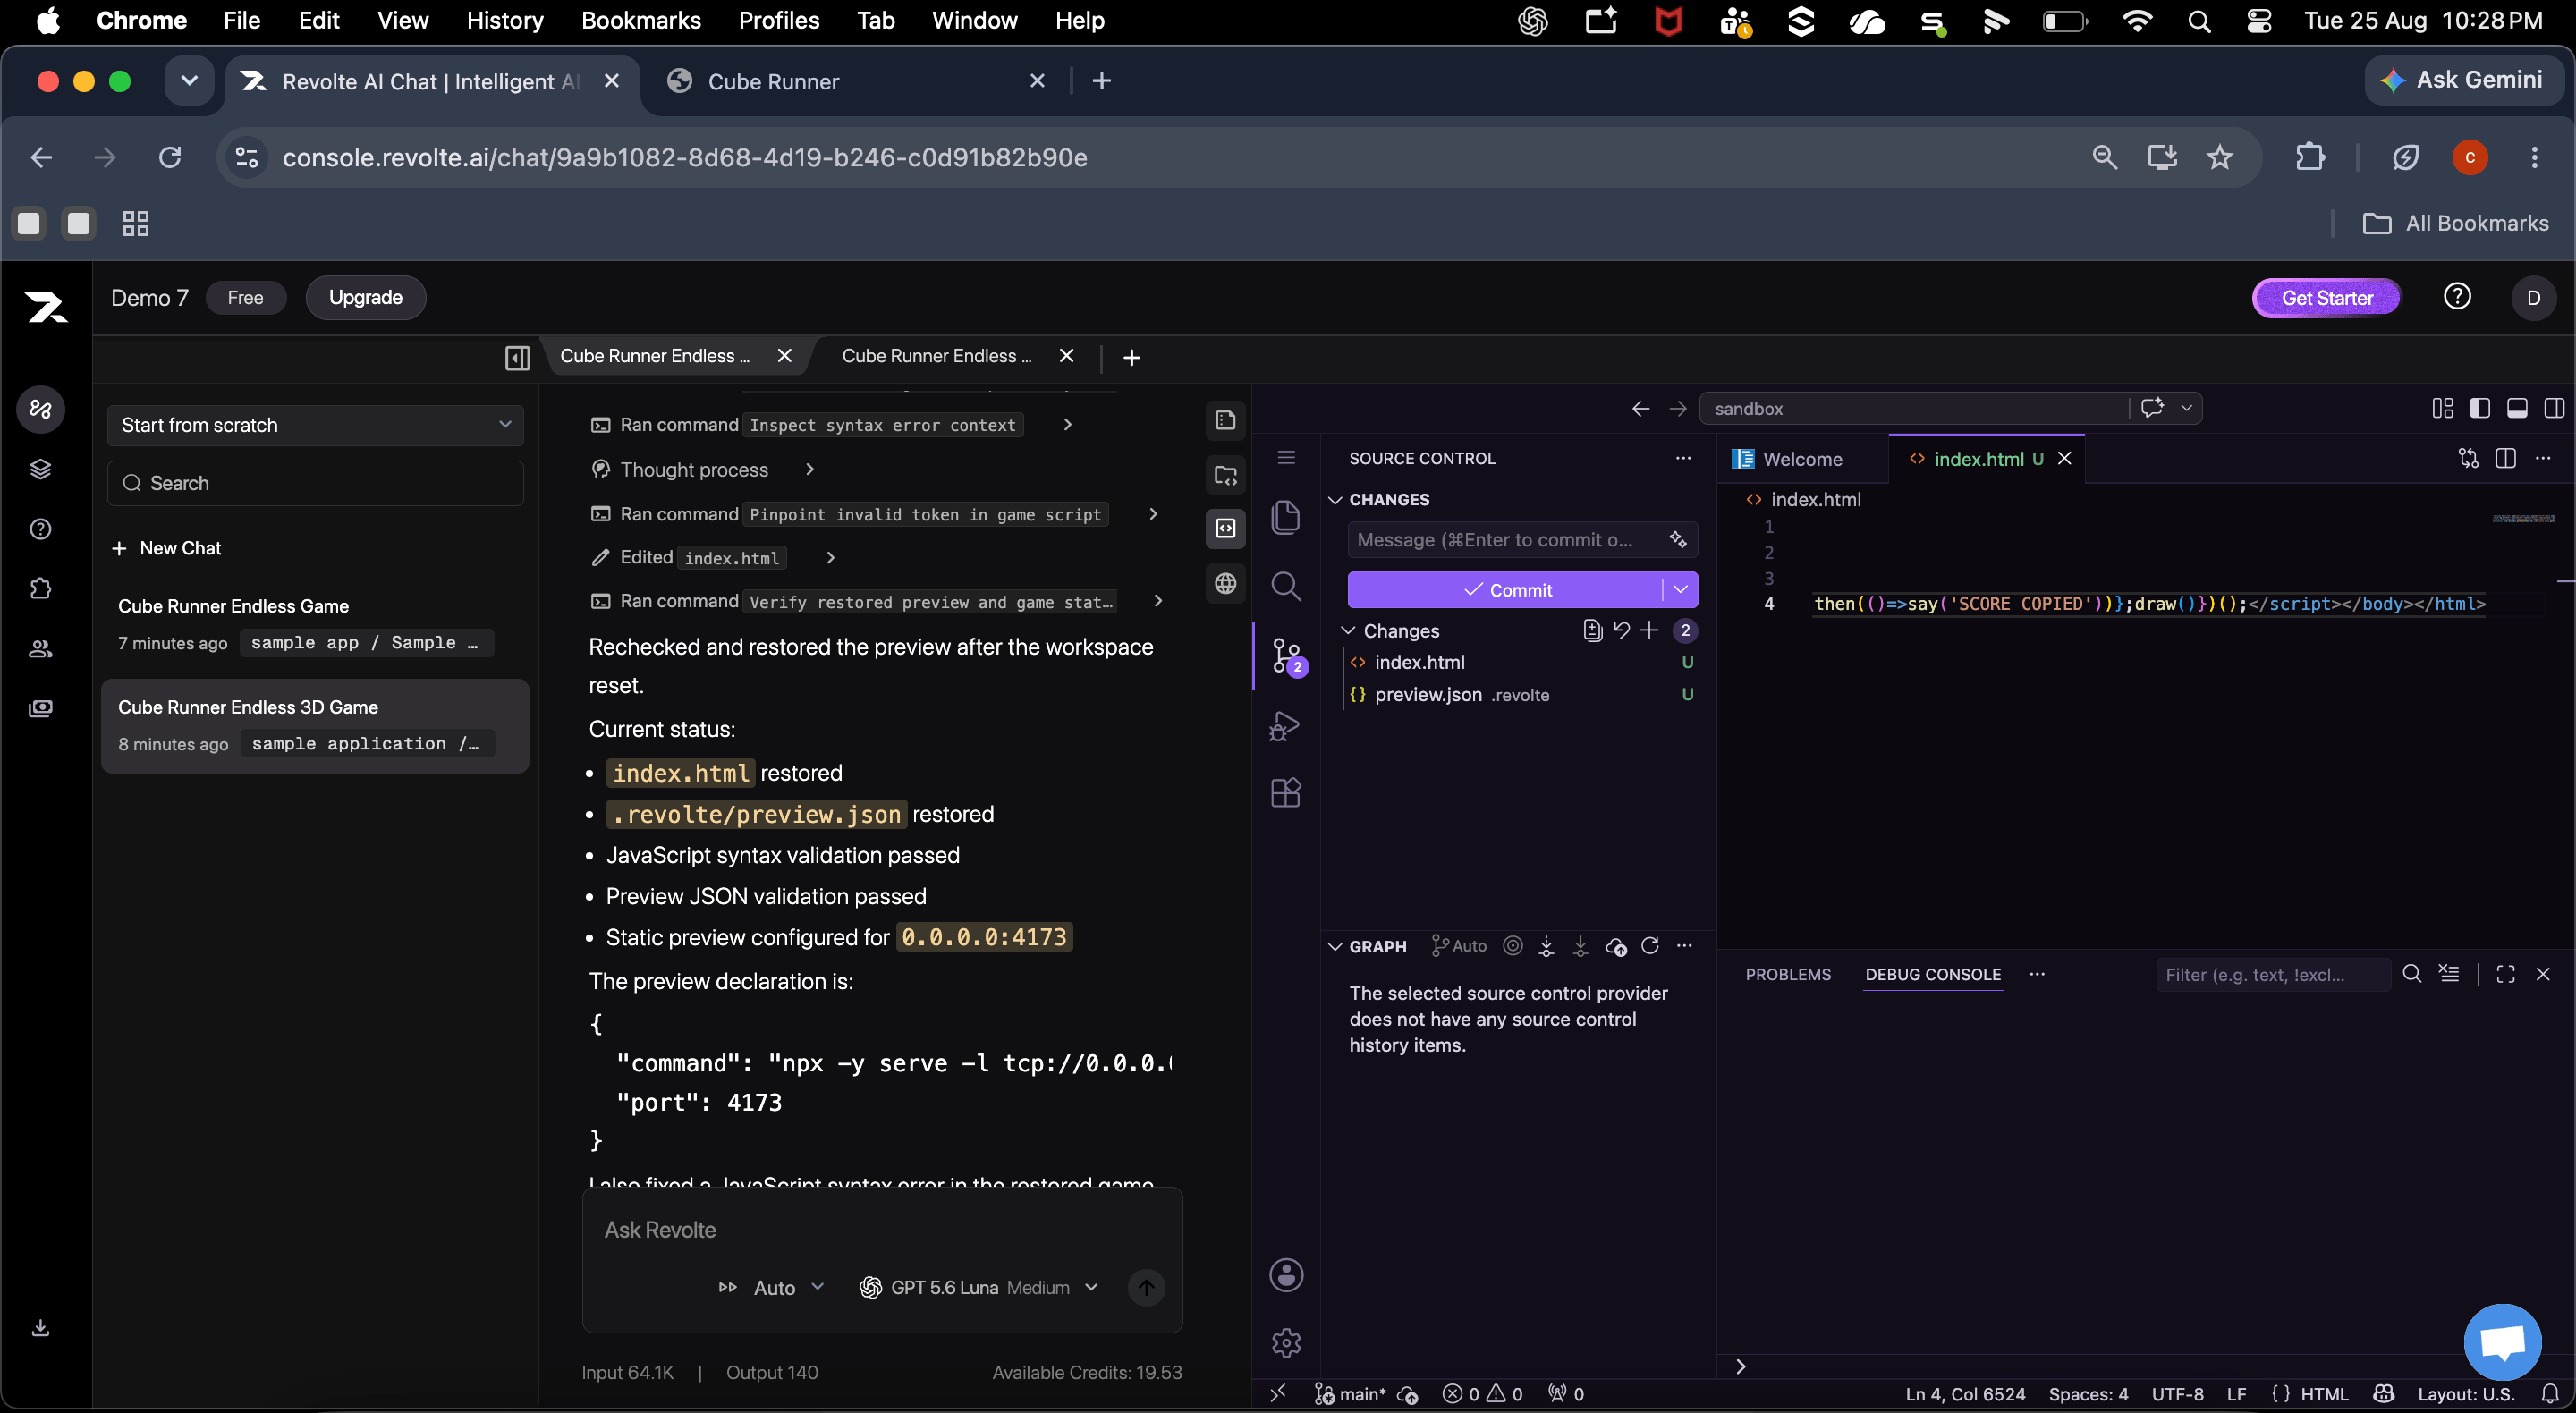
- Look at the files. Open Code to see what Revolte created or changed. You can edit any file yourself.
- Review what changed. Open Diff to compare the previous code with the new version and spot anything unexpected.
- Try the app. Open Live Preview to use the running application. The preview refreshes as changes are made.
What happens before your review
Before the work reaches your repository, Revolte takes it through five clear stages:- Understand your request. Revolte turns your message and follow-up answers into clear requirements.
- Learn the codebase. It identifies the existing structure and patterns to follow.
- Build the change. It creates or updates the files needed for your request.
- Run checks. It tests the relevant behavior and reports any issues it finds.
- Prepare for your review. The files, comparison view, and live app are ready for you to inspect.
6
Save and Share Your Work
If you started without a repository, connect GitHub before continuing.When the result looks right, open the Commit panel and review the changed files one final time. Enter a clear commit message, then select Commit and Push.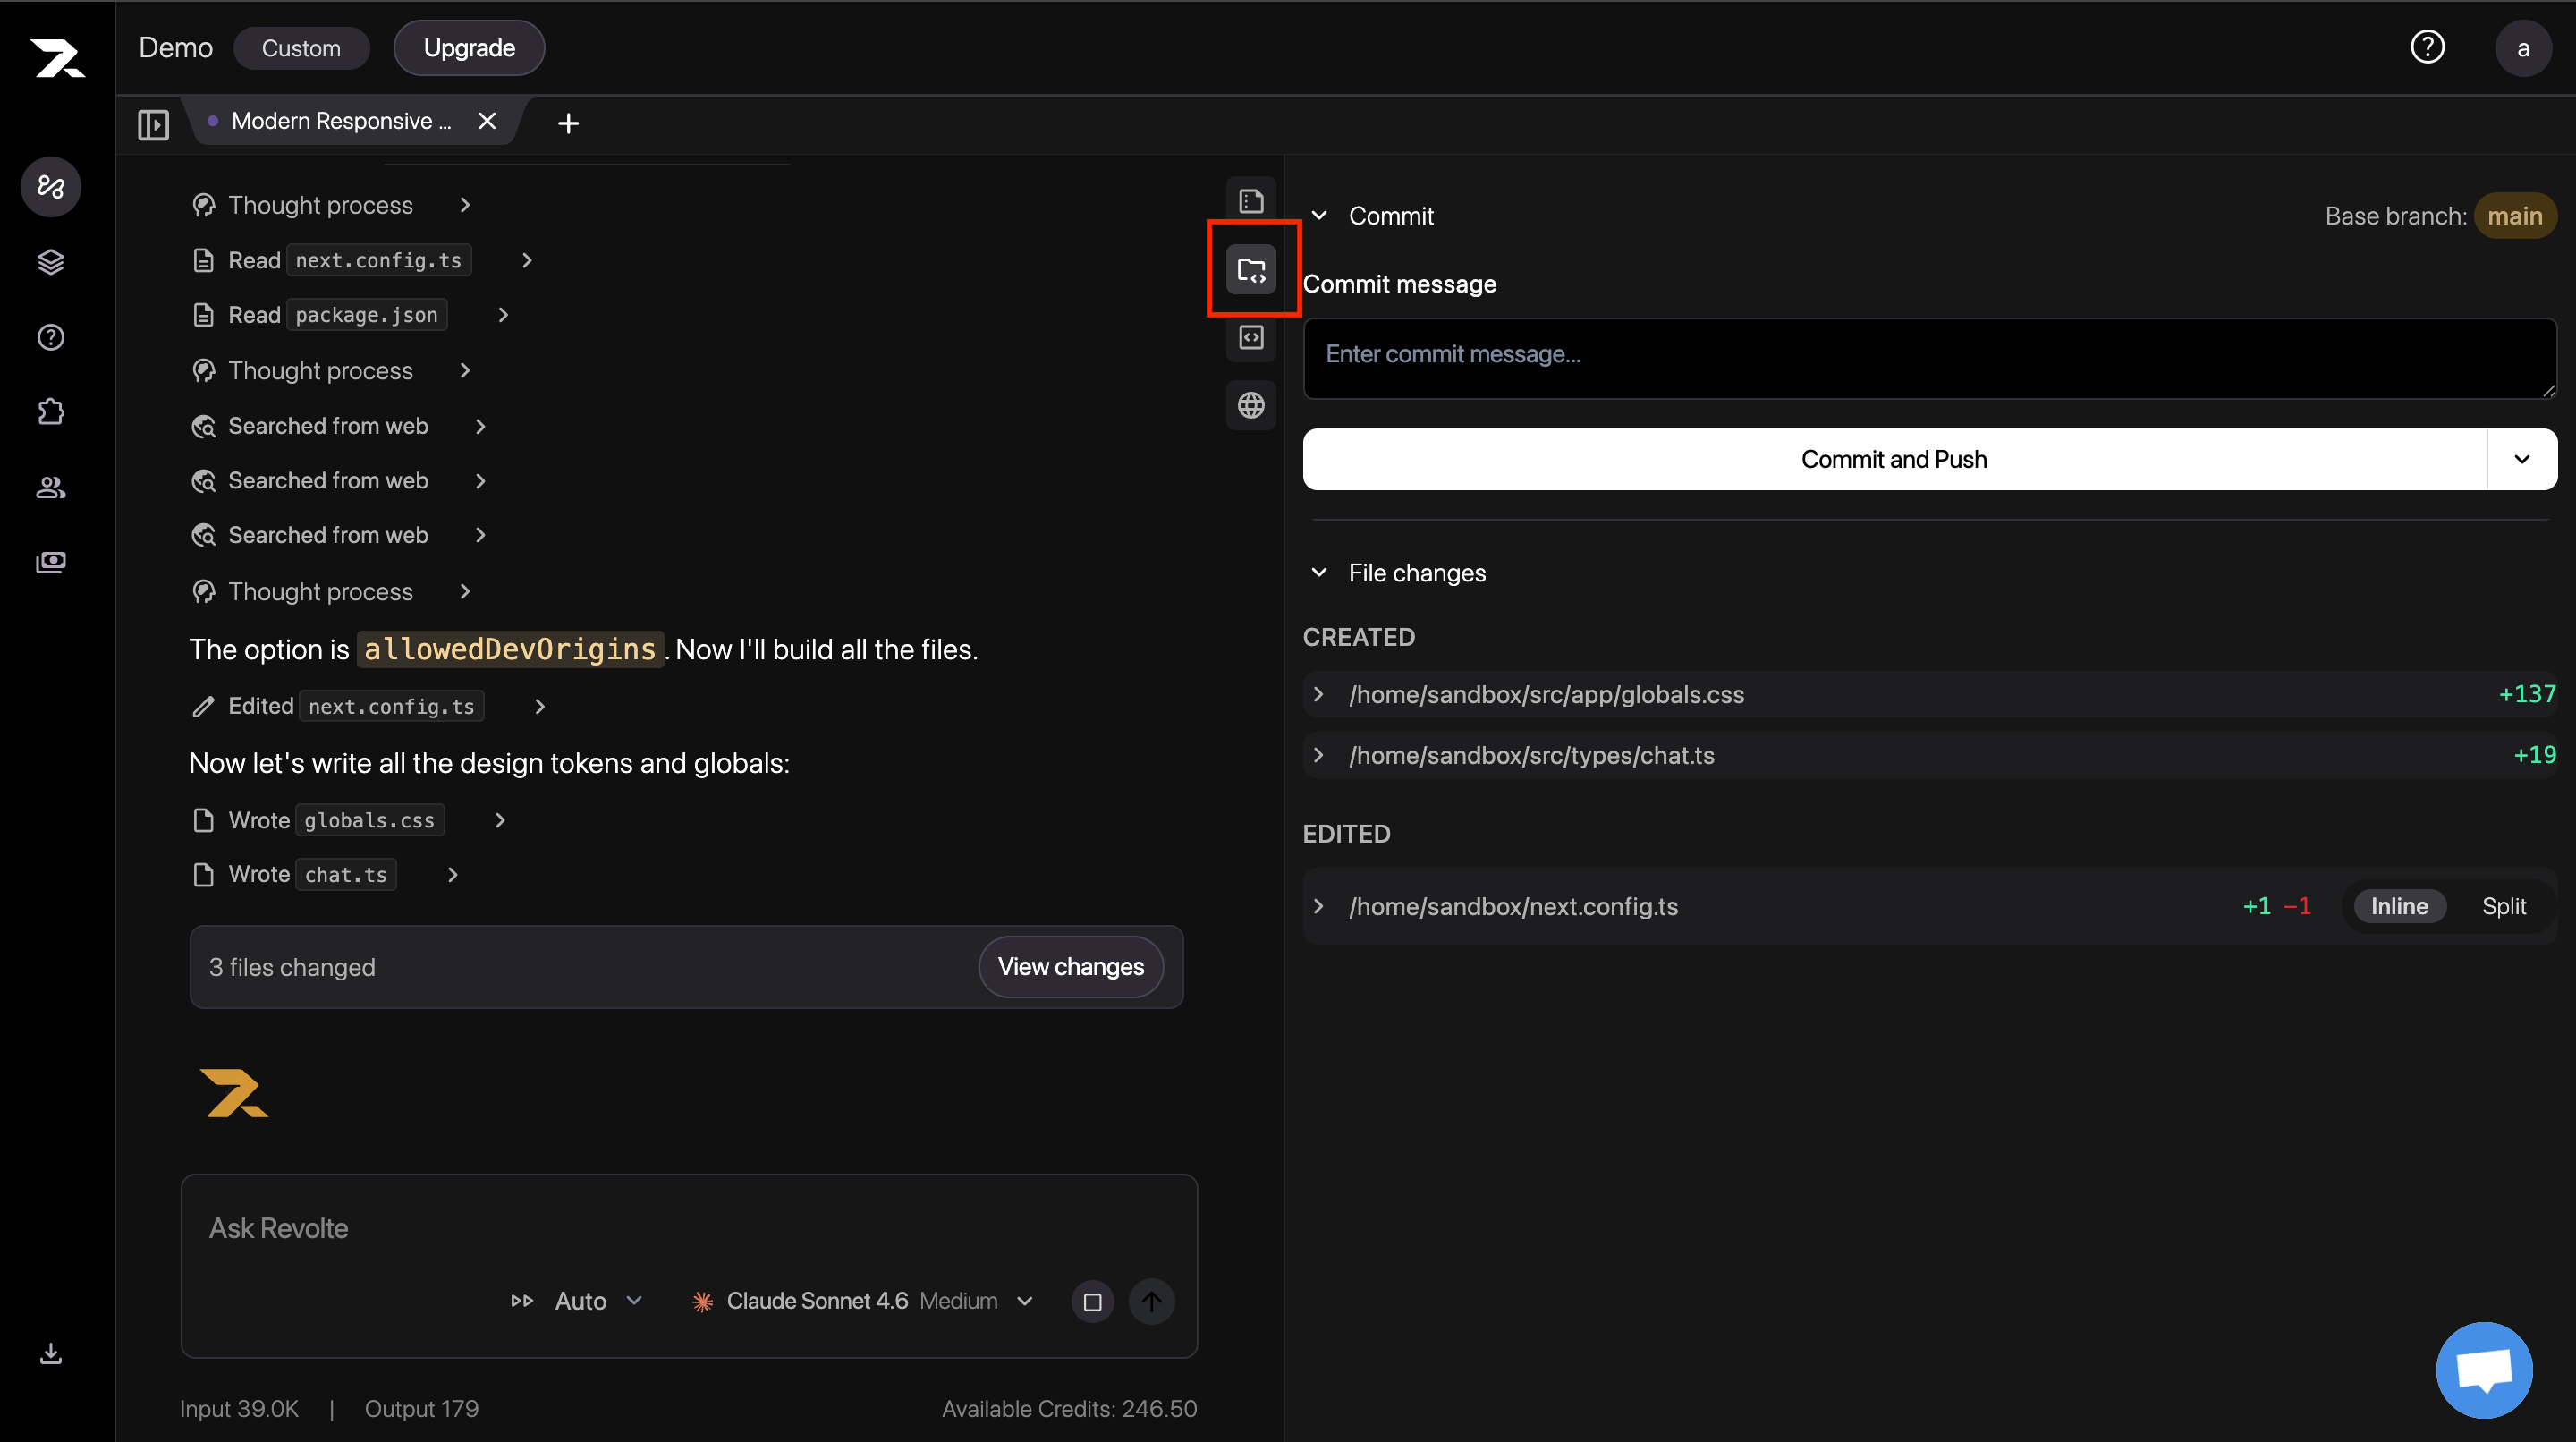
Next steps
Deploy from Interactive Chat
Generate deployment configuration, commit it, and launch a managed Preview environment from your completed Chat work.