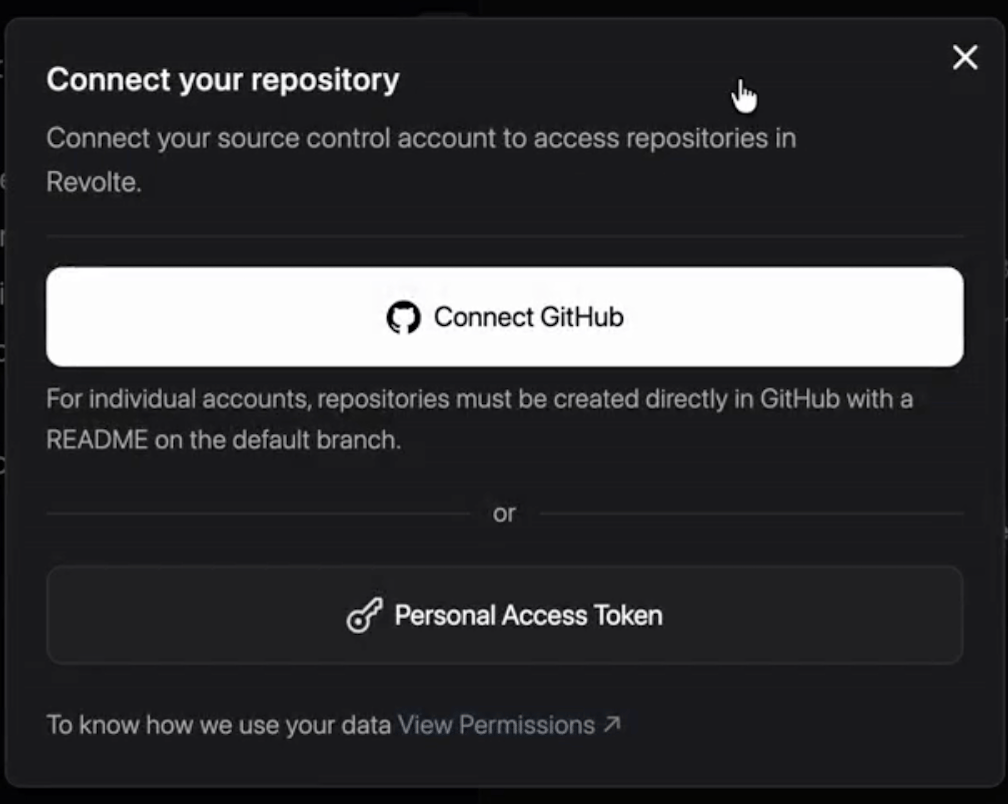
A new user is not required to connect GitHub during sign-up. If you open All Projects before connecting a Git provider, Revolte guides you through the repository connection flow.Grant access only to the repositories you want to connect to Revolte. Avoid adding permissions that are not listed below.
Open All Projects
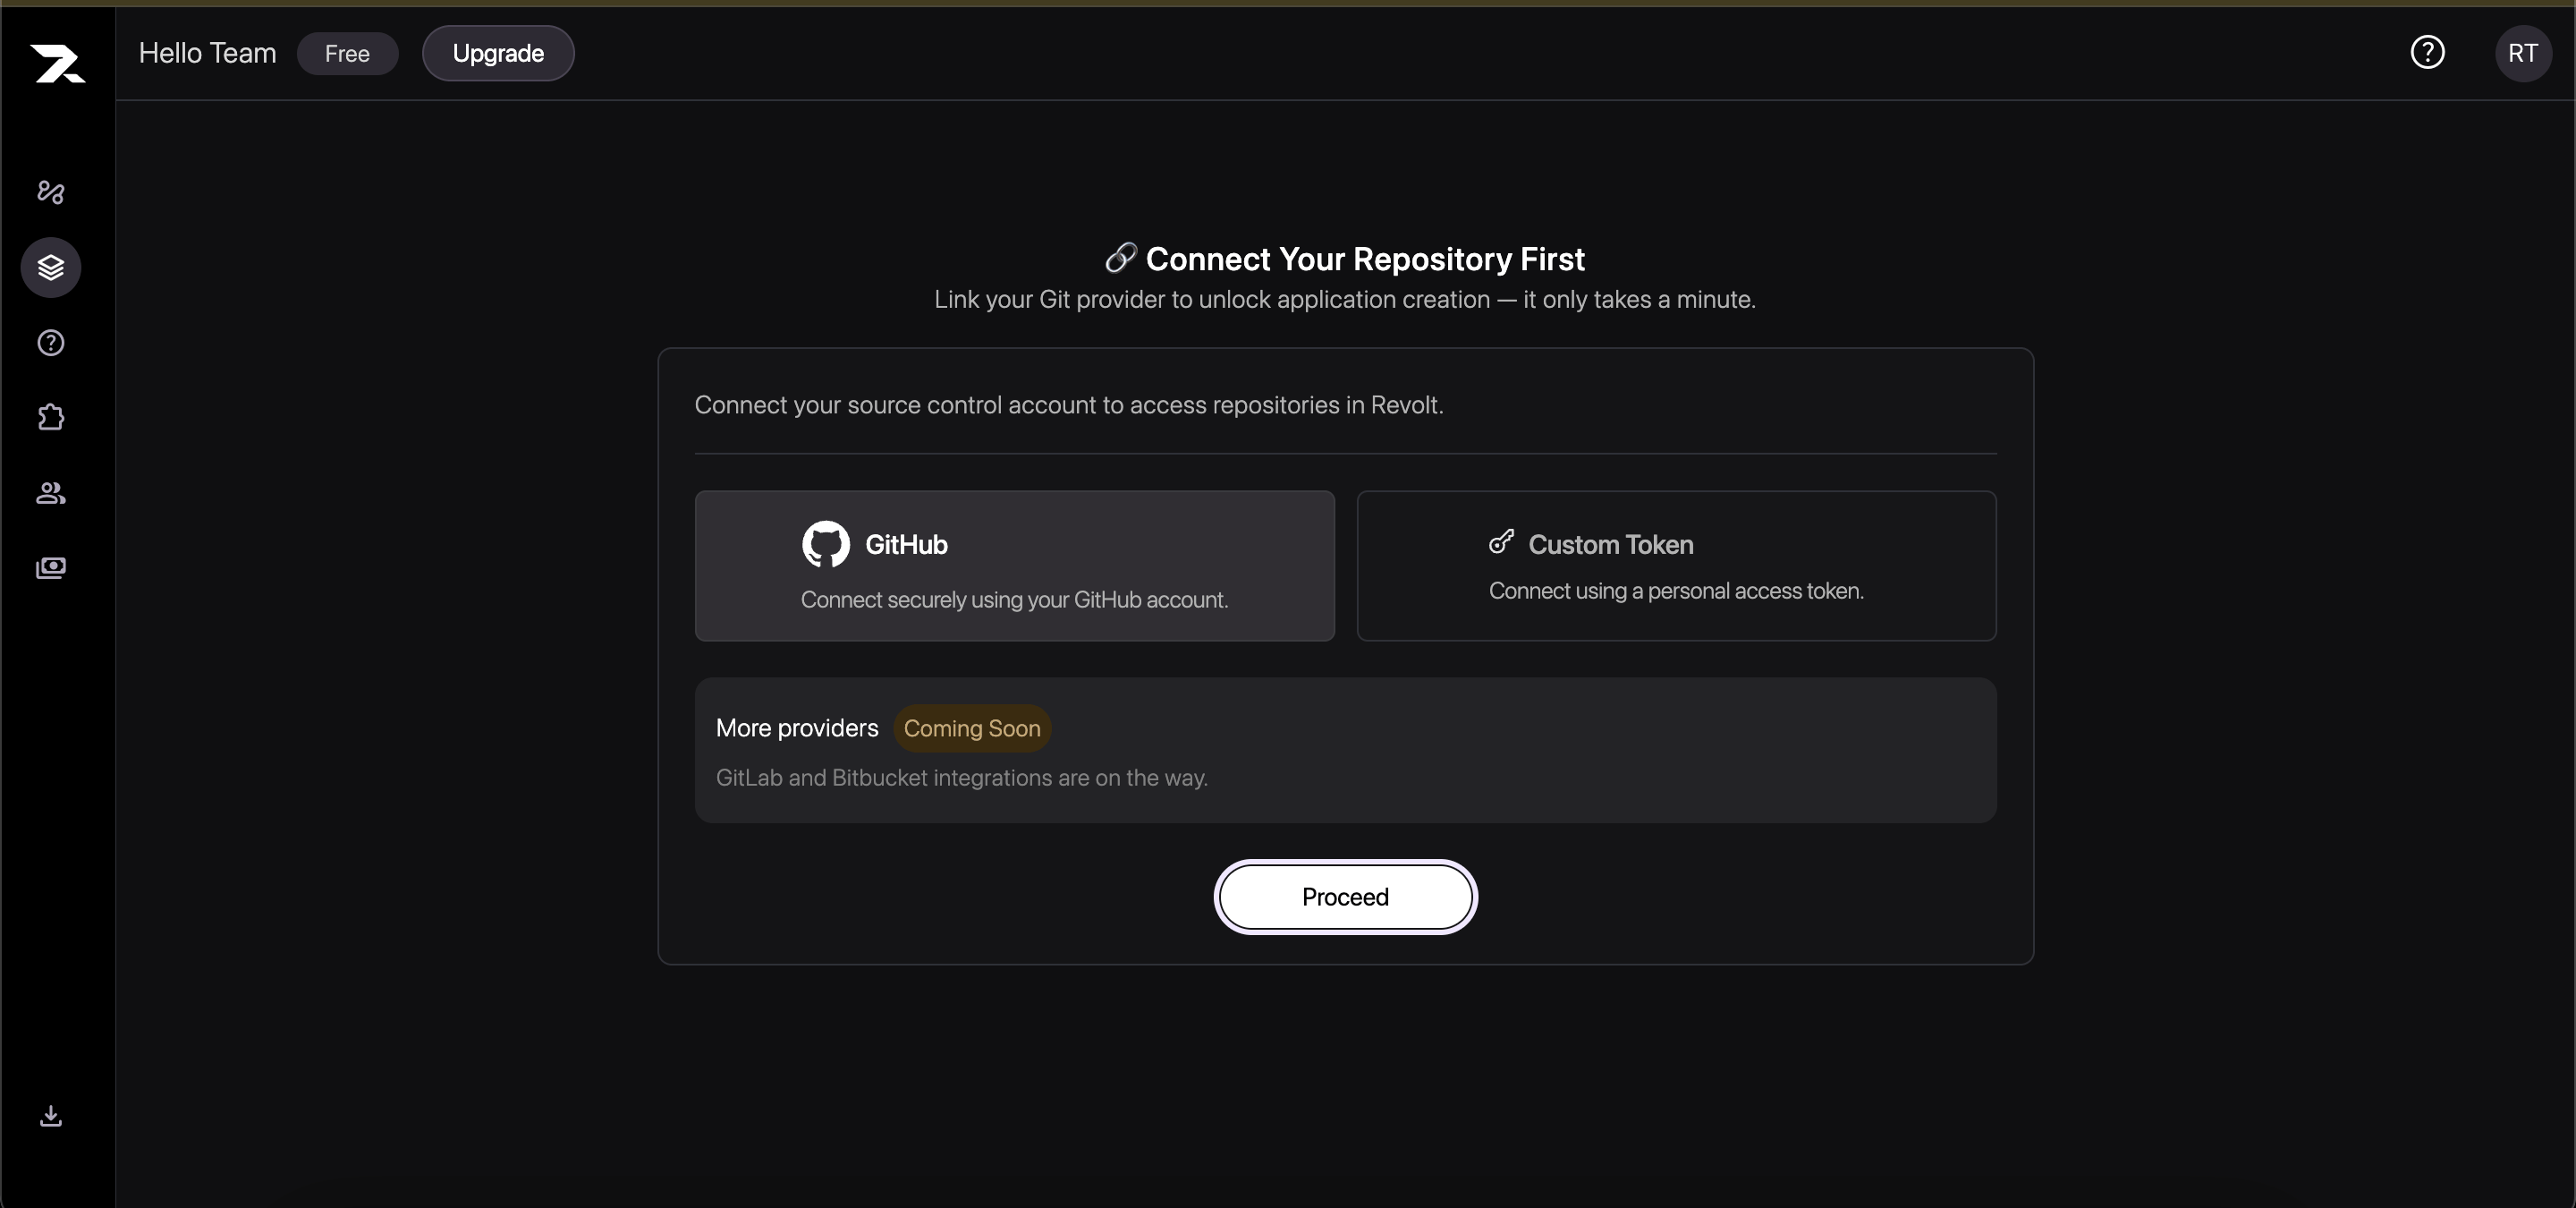
Go to All Projects. When no Git provider is connected, Revolte displays Connect Your Repository First. Select Custom Token, then click Proceed. Create a fine-grained personal access token
Open GitHub Personal Access Tokens, select the resource owner, and choose only the repositories you want Revolte to access.Why Revolte requests these permissions
A fine-grained personal access token controls which selected repositories Revolte can work with and which GitHub operations it can perform. Under Repository permissions, grant Read and write access to each permission below. In GitHub, write access includes read access.Together, these permissions let Revolte understand the selected codebase, respond to repository events, deliver approved changes, validate the result, and return the work through a pull request. Revolte uses the granted access for actions you initiate and for connected workflows you configure.Select only the repositories you want to connect. GitHub’s Administration permission includes broader repository-management capabilities; Revolte requests it to support repository creation during user-initiated workflows. You can revoke the token at any time from your GitHub settings.
For GitHub’s endpoint-level definitions, see Permissions required for fine-grained personal access tokens.Review the configuration, generate the token, and copy it immediately. GitHub displays the token only once. Connect with the token
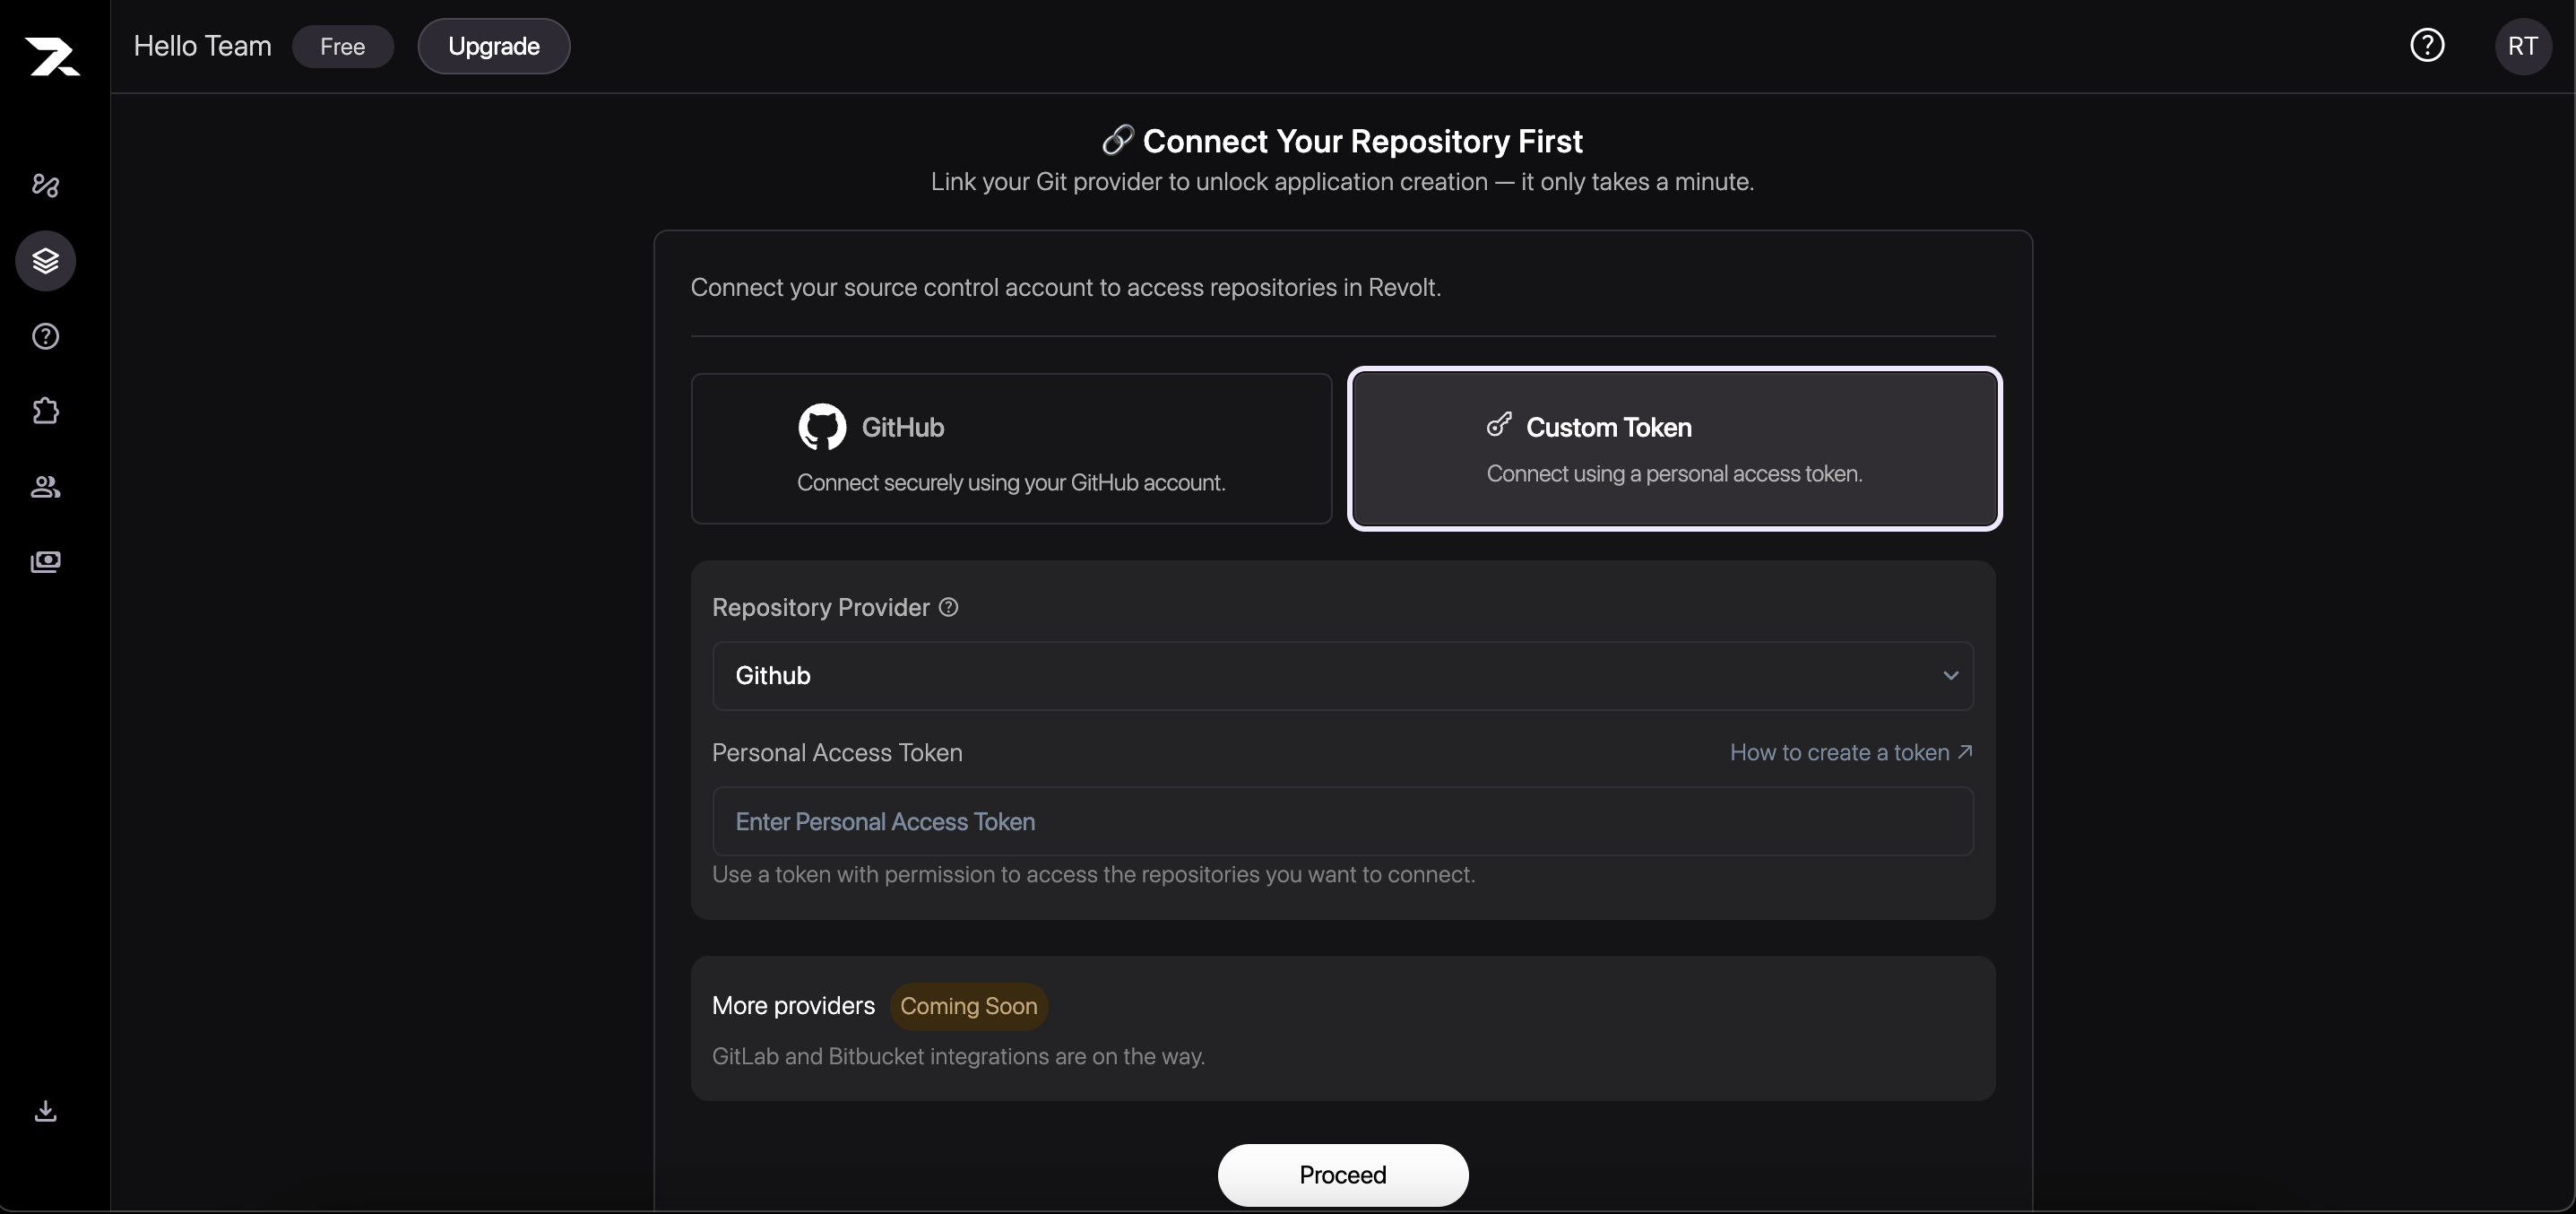
Return to Revolte, select GitHub as the repository provider, and paste the token into the Personal Access Token field. Click Proceed to connect the repositories covered by the token. Treat your token like a password. Do not commit it to a repository or share it in chat, logs, or screenshots.